Tag Archives: MAS.863

Lasers and such (aluminum business cards, wood and paper etching, edge-lit acrylic signs, thermoforming

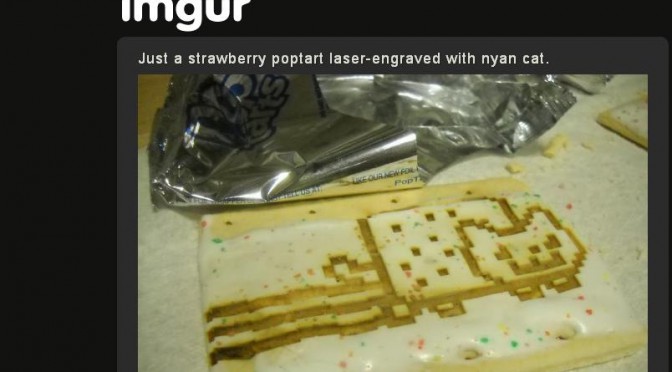
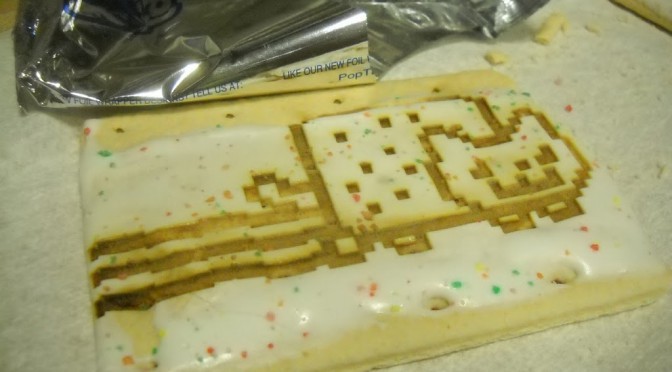
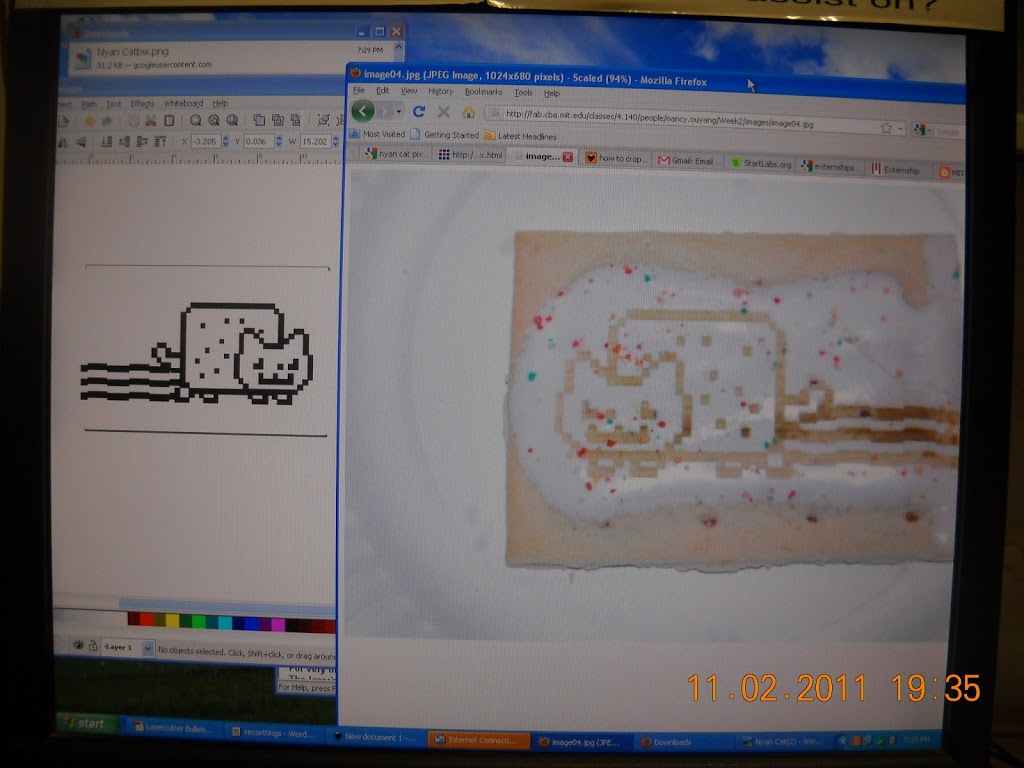
I’m proud to say that I’ve sunk at least 40 man-hours of other’s people time into nyancat 🙂
(~150,000 views * 1 sec each / 3600 secs/hr  = 41.7 hours)

from 6:20am today (11/8/11) http://imgur.com/HnoAf

Makes me regret not thinking about watermarking my images (free publicity!). Thankfully, these are but brief lapses in my unfailing devotion to laziness.

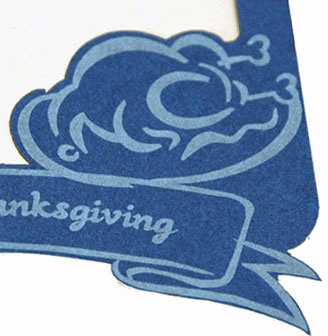
Meanwhile, I’ve been exploring the joys of the lasercutter. I found some scrap wood sitting around the lasercutter and etched some of my best friend’s art (shout-out to Alice Chung! http://the-crowned.deviantart.com/)

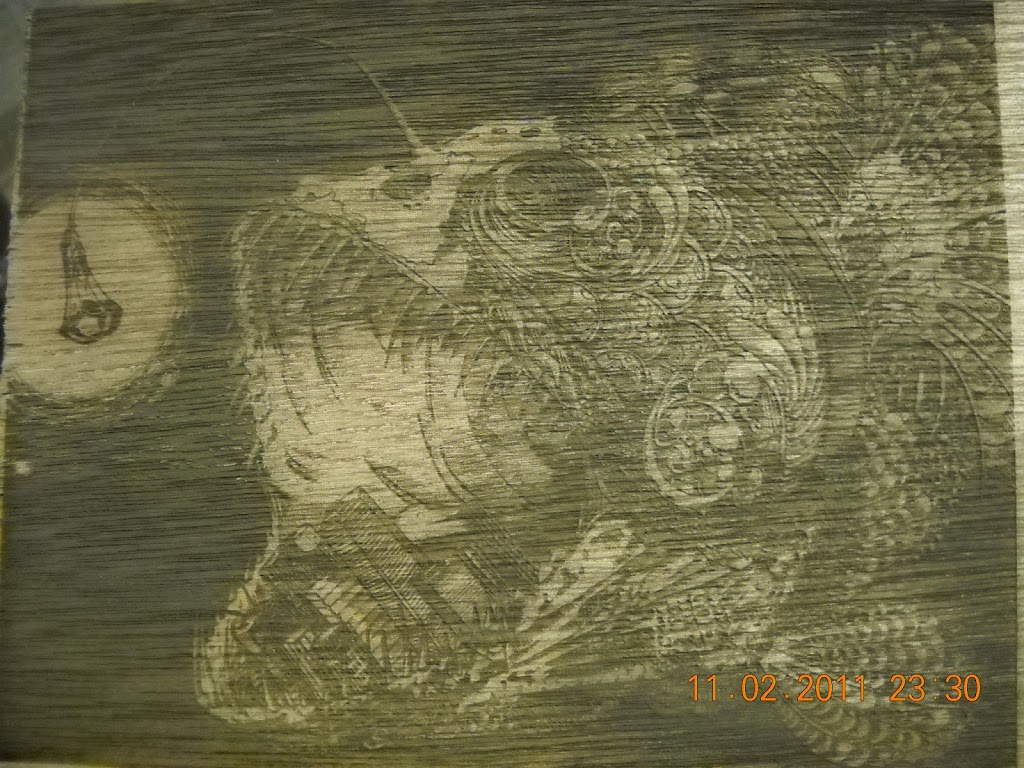
I didn’t know what type of wood it was so I approximated:
material, lens, thickness, ppi, power, speed, description
aircraft plywood        2    1/8″        500    15%        80%        raster
aircraft plywood        2    .17        300    40%        3%        cut ~.17

I also want to make edge-lit signs and found some scrap acrylic. I checked out some real edge-lit signs, the ones used on the newer-style EXIT signs, looking straight up at them, and you can see the individual blips indicating a strip of LEDs. I thought they might have been using a fluorescent tube, which was my other though for lighting — strip out a discarded scanner’s tube and make a lamp ballast for it, then stick it over the acrylic. Todo: buy some nice strips of RGB LEDs. http://www.adafruit.com/blog/2009/09/22/making-an-edge-lit-acrylic-sign/ ~$7: http://ledshoppe.com/Product/led/LE5045.htm

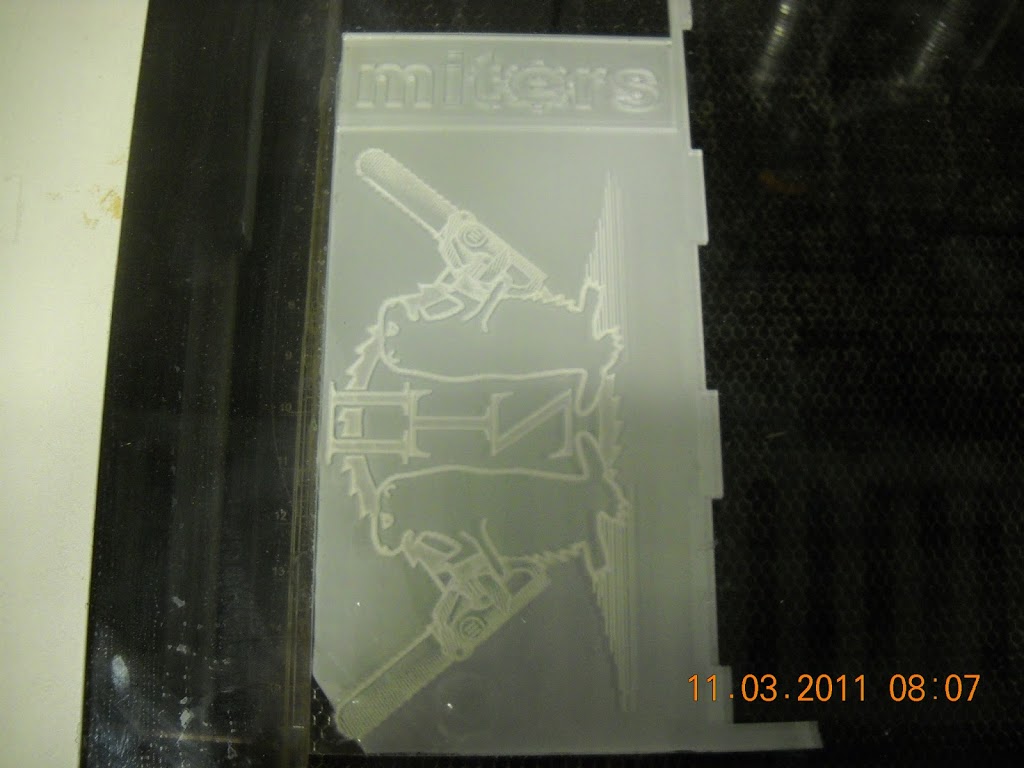
this was .24” thick acrylic:
ACRYLIC (clear)        2    1/2″        500    80%        50        RASTER, 1/32 inch
ACRYLIC (clear)    (tinted)    2    1/4″        500    100%        1.4        cuts through 1/4” (.21”)

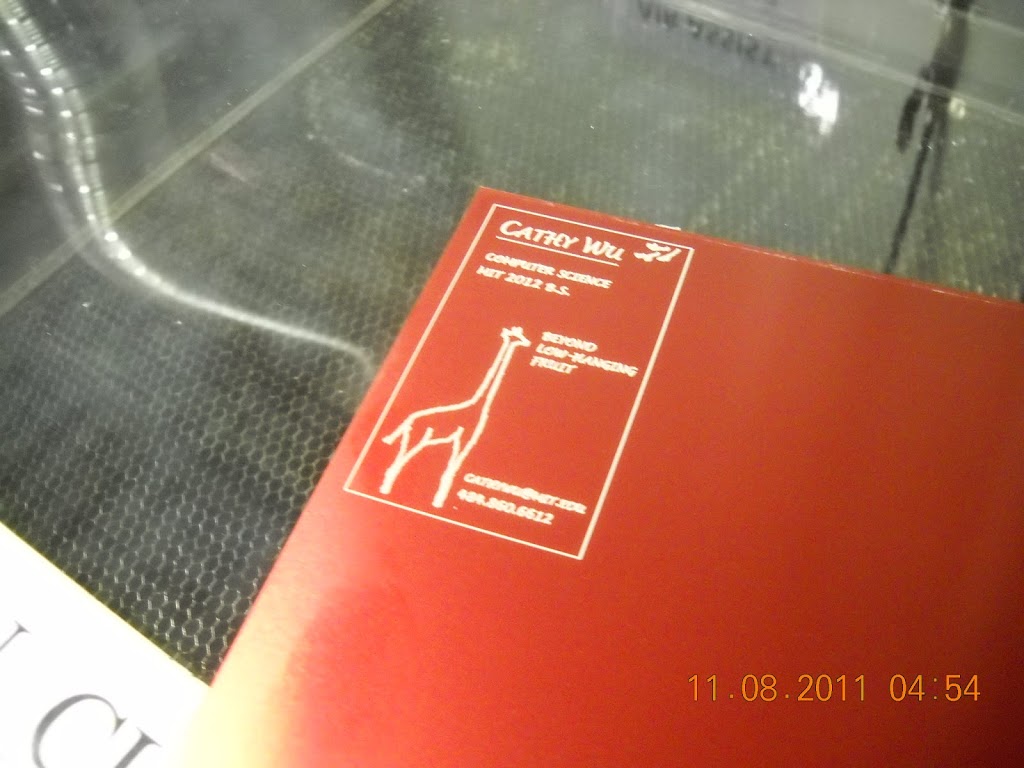
I’m sitting in the media lab shop right now helping a friend, Cathy Wu, make business cards for her imminent plane trip to some conference somewhere (_sigh_ smart people…). I was asleep in my room at 11pm when I heard a loud knocking, which turned out to be a hyper Cathy excited about cutting out business cards with the laser cutter 🙂 I had some anodized aluminum let over from the waterjet clock class / Kevin Rustagi, so there we go.
Giraffe design courtesy of Laura Shumaker, another awesome friend.

Settings used:
METAL ENGRAVE    2    n/a        400    50%        10        (Vector) Engraves into most sheet metals. (incl. anodized Al)to confirm: “my impression was that CO2 bleaches the dye in the anodize coating, while YAG actually penetrates the anodize to etch the aluminum”

The 100 watt lasercutter is definitely not awesome enough to cut this out (we tried full power really slow speed high ppi and it looked to have cut to the same depth as the etching). Maybe the BEAM lasercutter? We settled on using the power shears to cut it out.

I also learned that one can etch paper without burning it up!

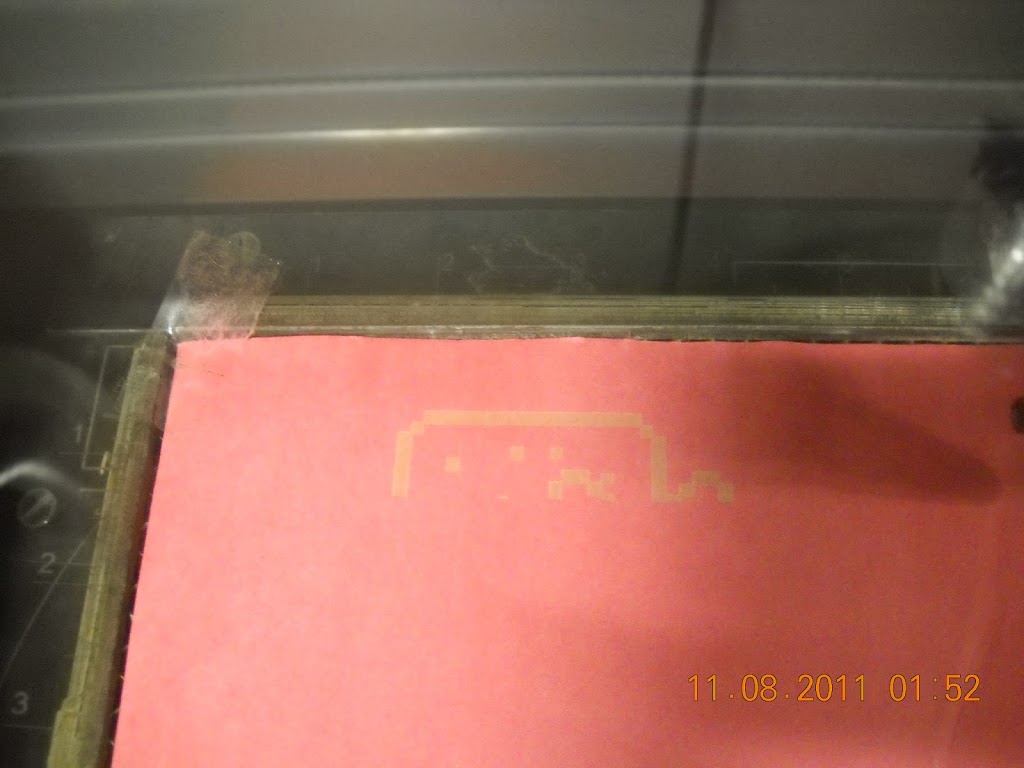
Construction paper    2    0.01”        500    6%        80%        etch; — @100% speed, 7% min. to etch. @6%, 97% min. speed

thin cardstock — 1mm thick

People online seem to be getting lighter engravings, though, and I can’t figure that out! I tried all sorts of different settings for the construction paper and all I get is the burnt look. The cardstock I know for sure is white through and through and it also gives me this brown color. ??? I need to figure out this mystery:

http://www.epiloglaser.com/tl_paper.htm

Some very useful links:
Different materials at a glance, with examples (look at the dress under textiles! amazing)
http://lasercuttingshapes.com/page/materials
Everything ever about the Universal 100W CO2 laser and all the possible parameters:
http://www.inlay.com/cnc/laser/index.html
Supplier Acrylics, fluorescent (looks edge-lit without needing lighting):
http://www.usplastic.com/catalog/default.aspx?catid=442&parentcatid=443&clickid=searchresults

Ladyada’s examples page:
http://www.adafruit.com/laser/
With more details here:
http://www.ladyada.net/library/laser/settings.html
What people charge for some lasercutting services:
http://www.tree-fox.com/laser-engraved-and-cut-business-card-110.html
And pumpkins! Plastic ones though. We have real ones on hall that I was pondering…
http://www.advancedwj.com/gpage.html1.html

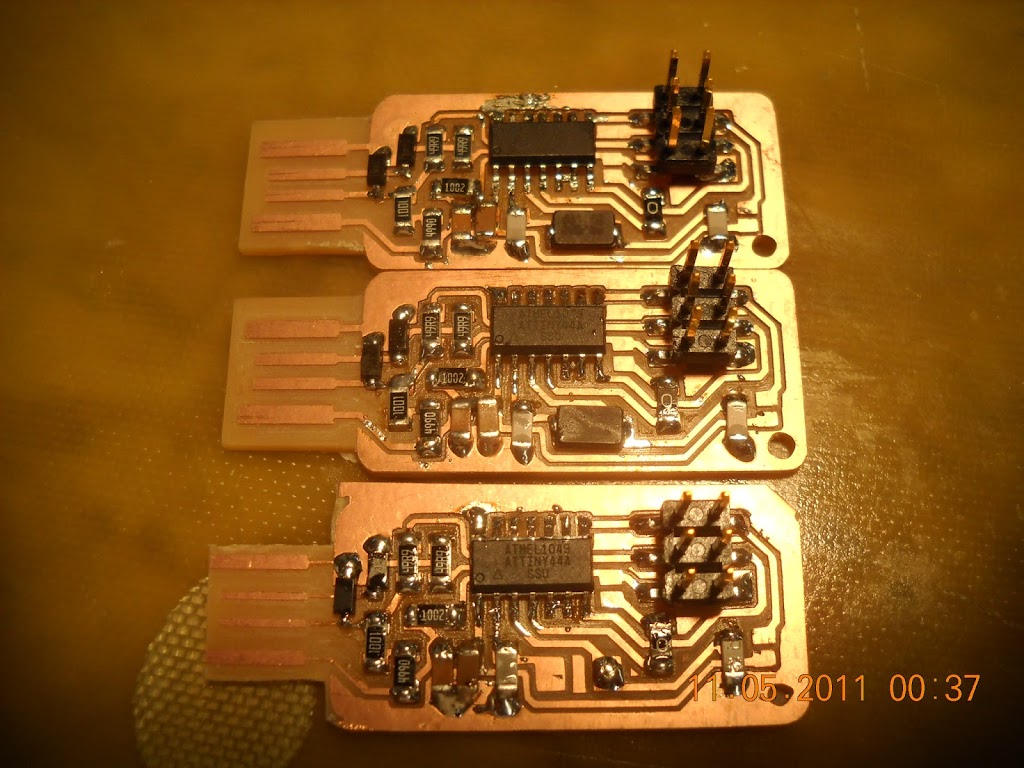
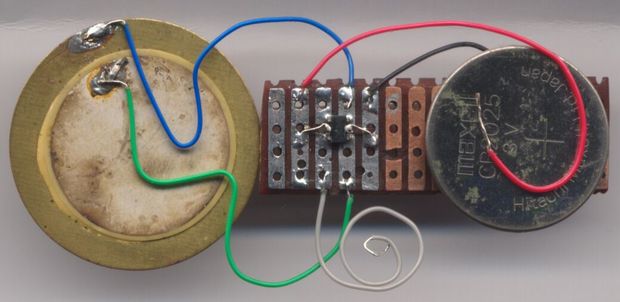
In other news, my surface mount soldering skills have vastly improved with a touch of patience. These all used the: tin one copper pad | tweezer solder the component onto that pad so that it’s straight | solder the other pad on | reflow the first pad. This seemed tedious to me in the past, but it actually goes pretty quickly and helps me place my components correctly (darn lack of silkscreening) since I’ll go through and tin one pad for all the components.

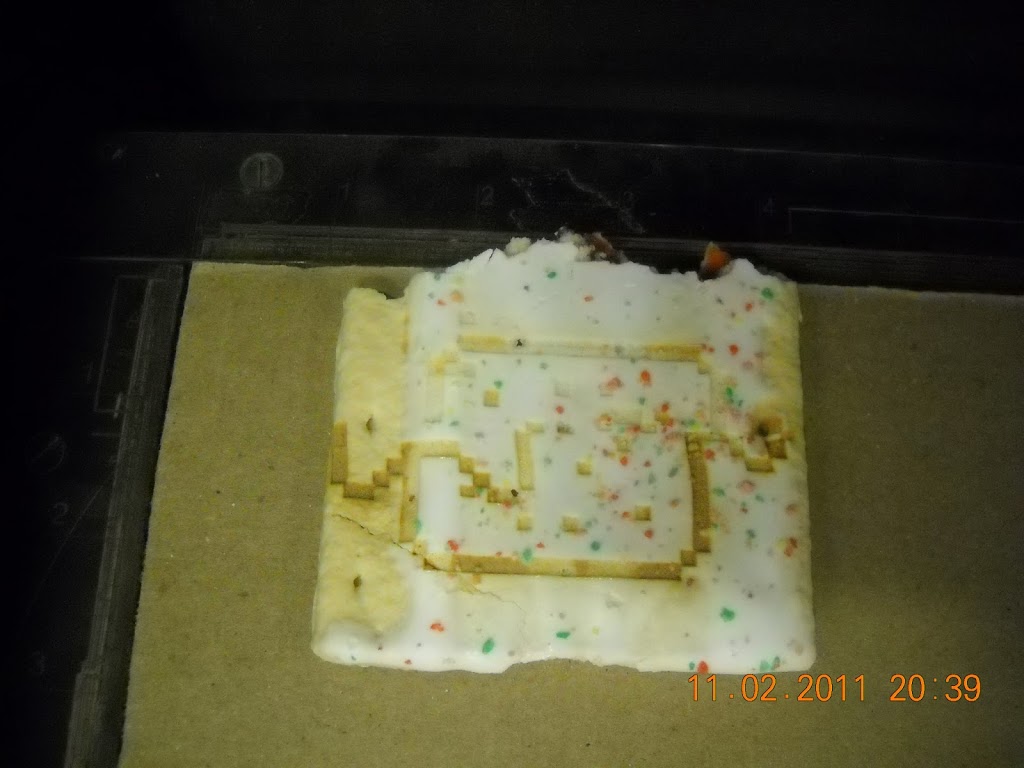
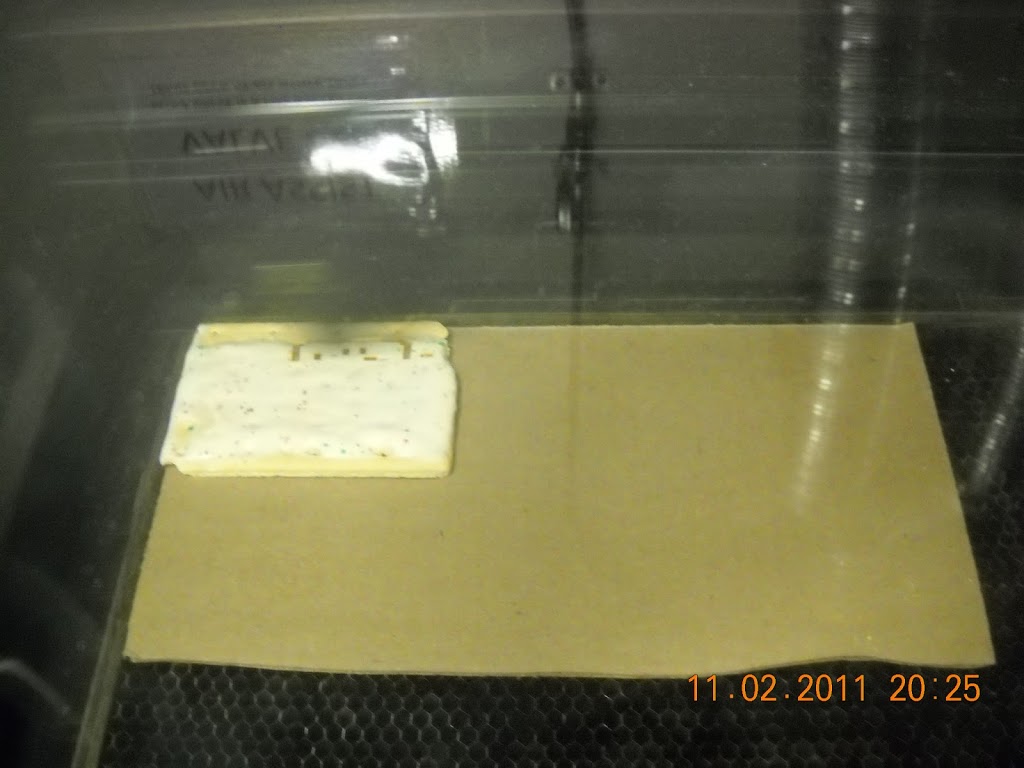
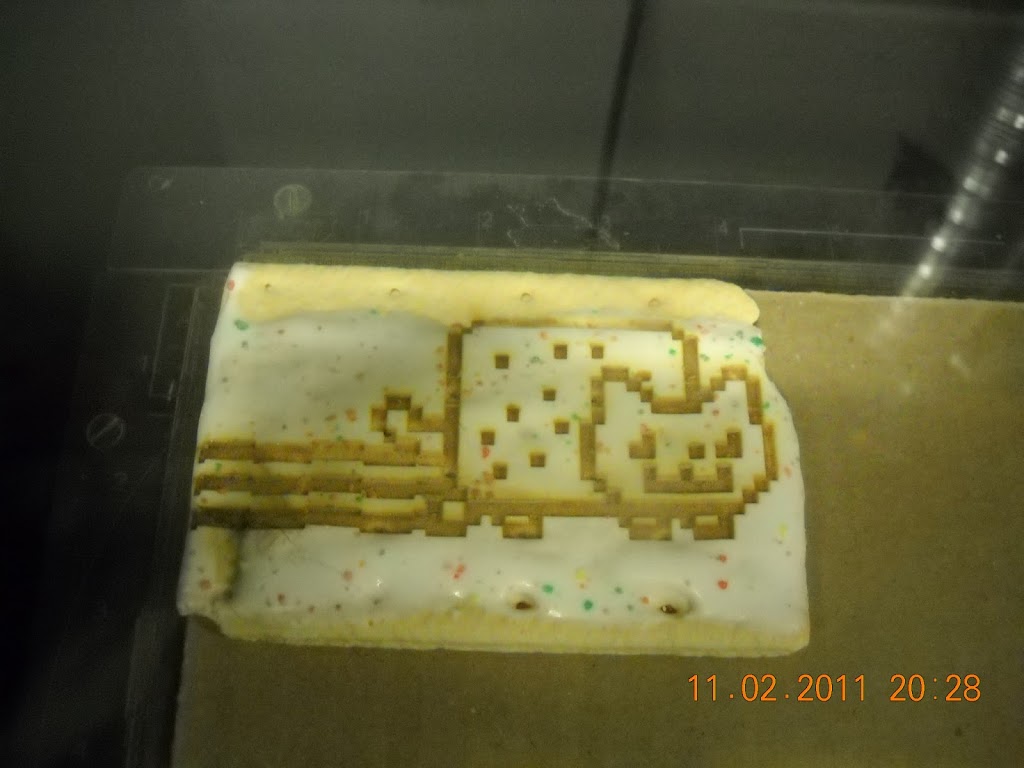
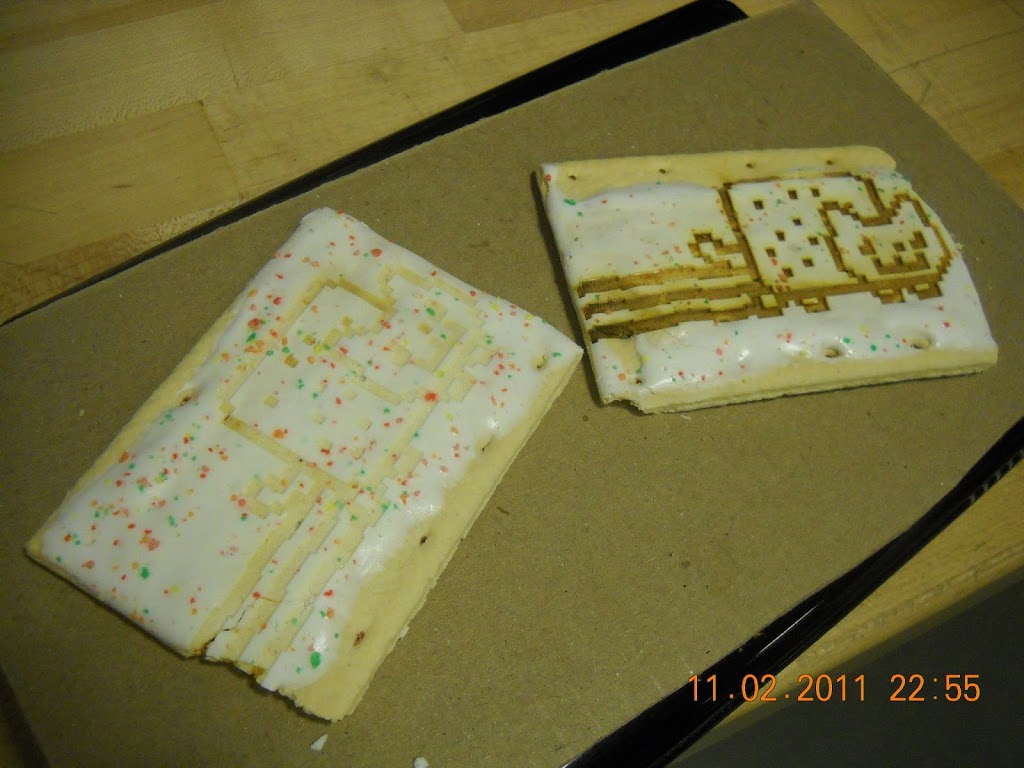
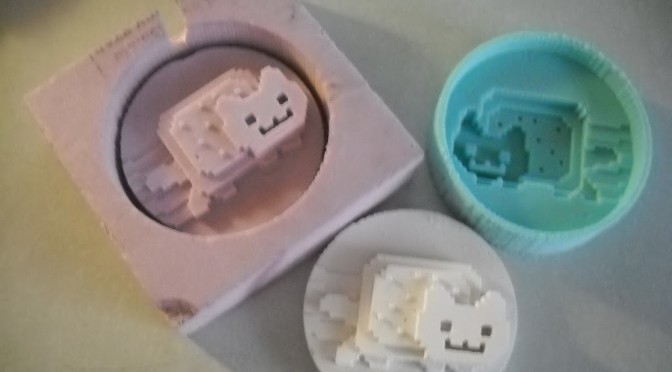
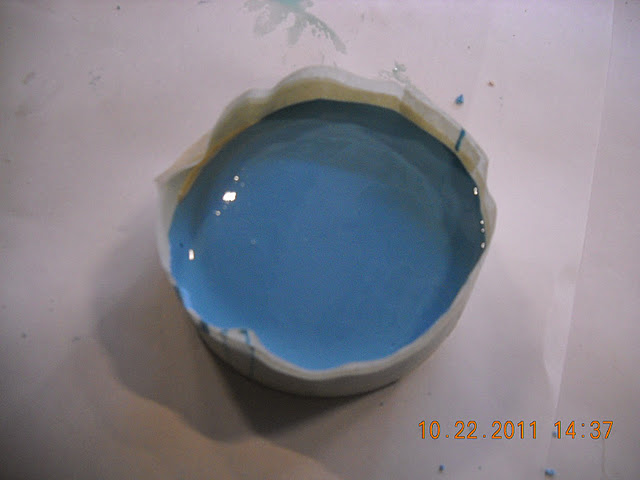
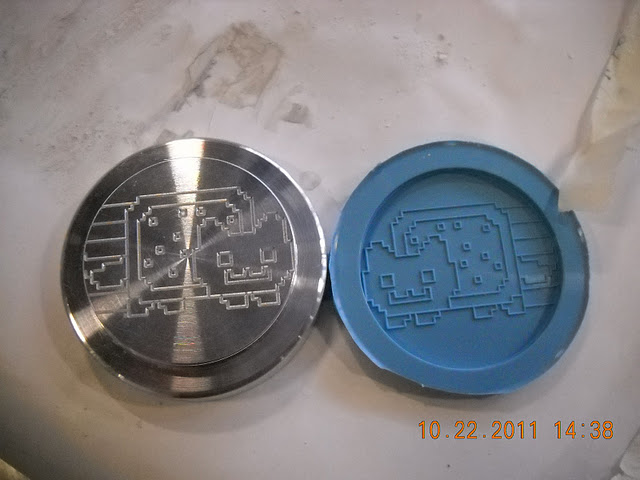
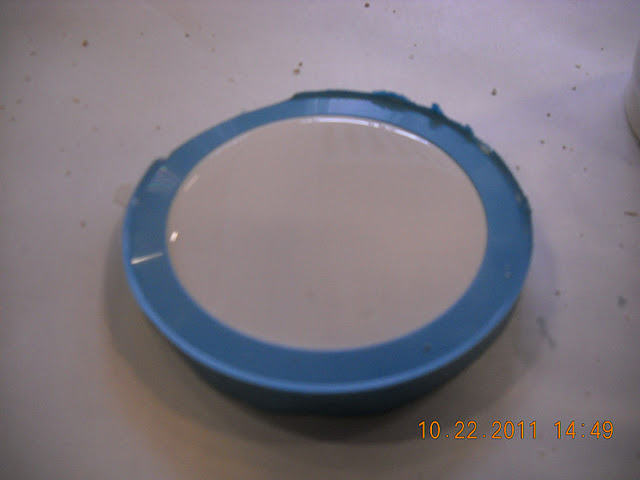
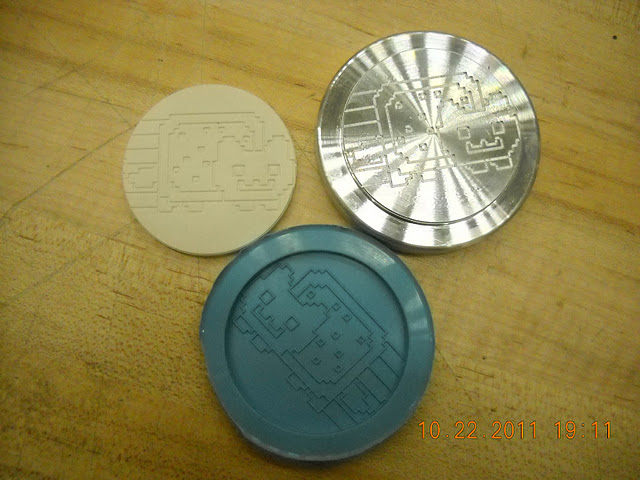
I also printed tiny-to-be-painted-and-turned-into-earring nyancat:

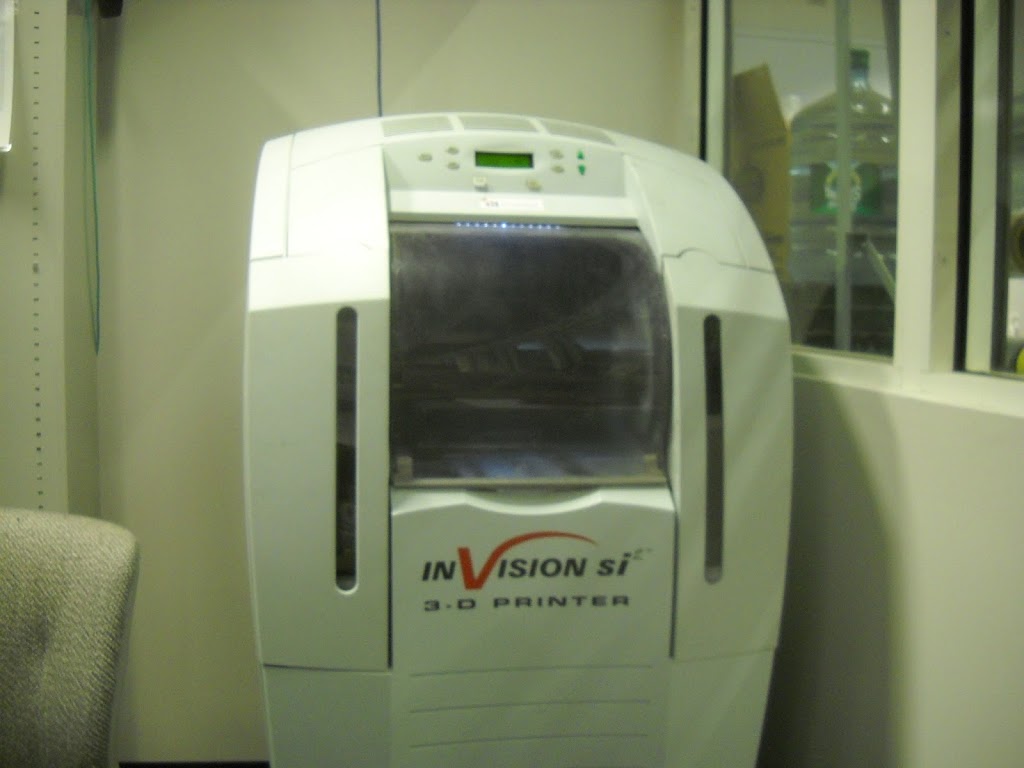
This is the 3d printer:

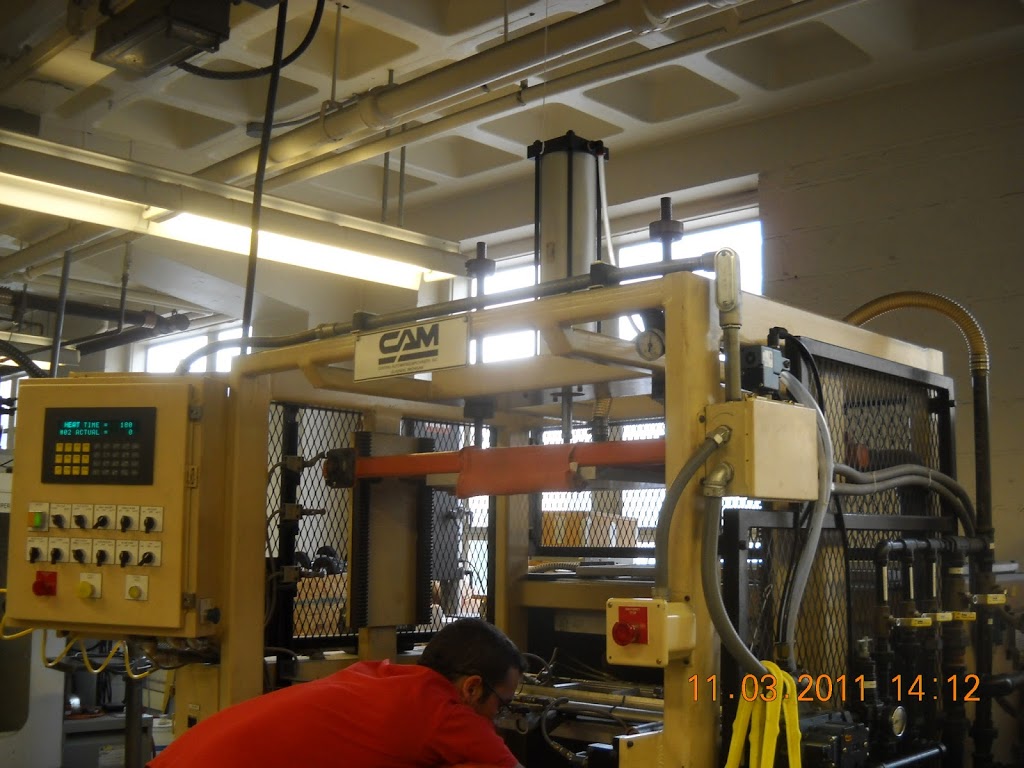
Meanwhile in 2.008 we thermoformed for the first time. Here’s the thermoform machine:

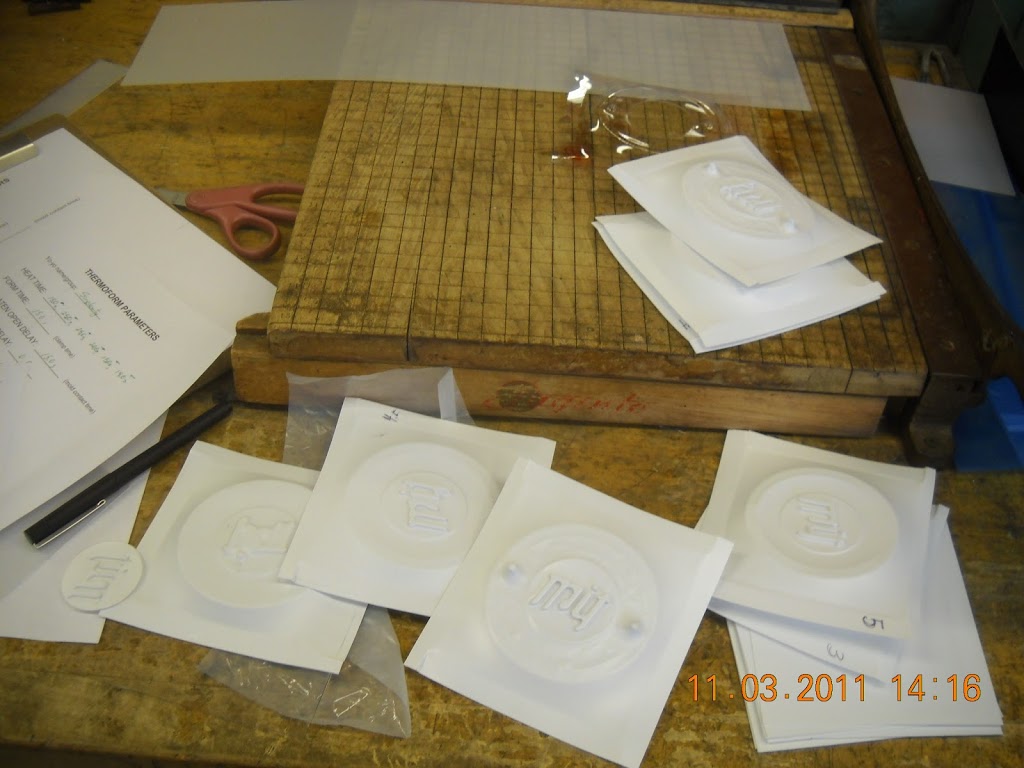
turned out pretty well, almost none of the webbing we were afraid of.

The machine is super-straightforward to use. I’ll write it down sometime.

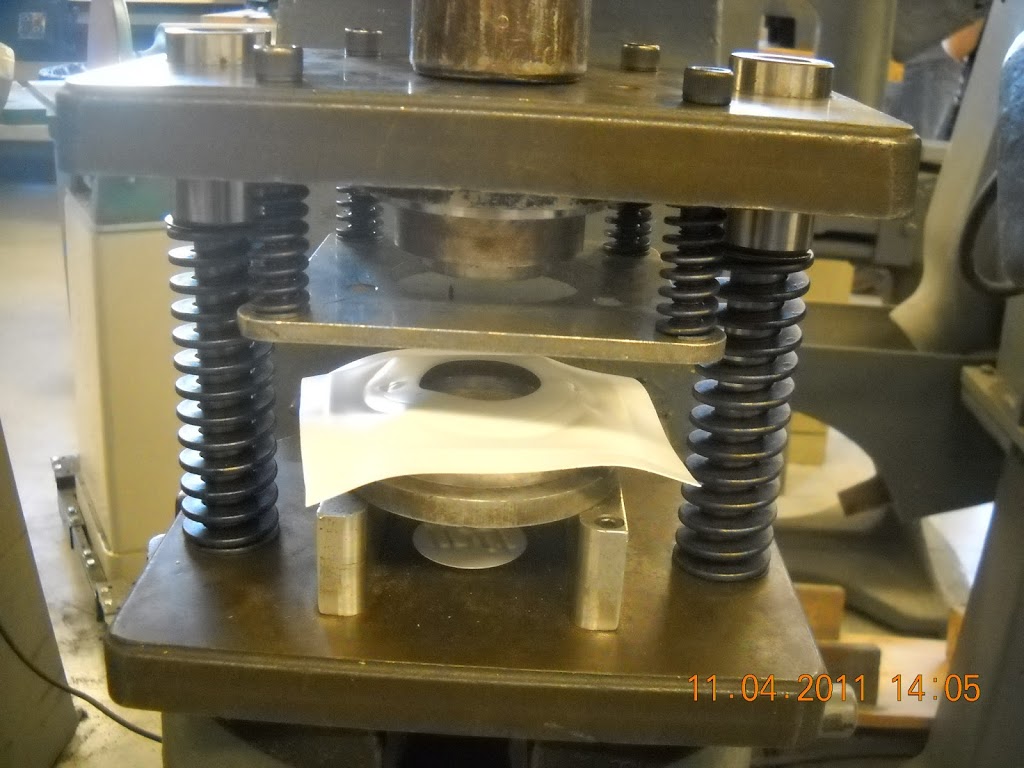
then you use the punch/die to cut out the part you want
some of the injection molded parts. The metal shim actually really affects the shrinking of the part, so our ring and body parts didn’t press-fit together (both used a 3% shrinkage estimate). To be fixed!

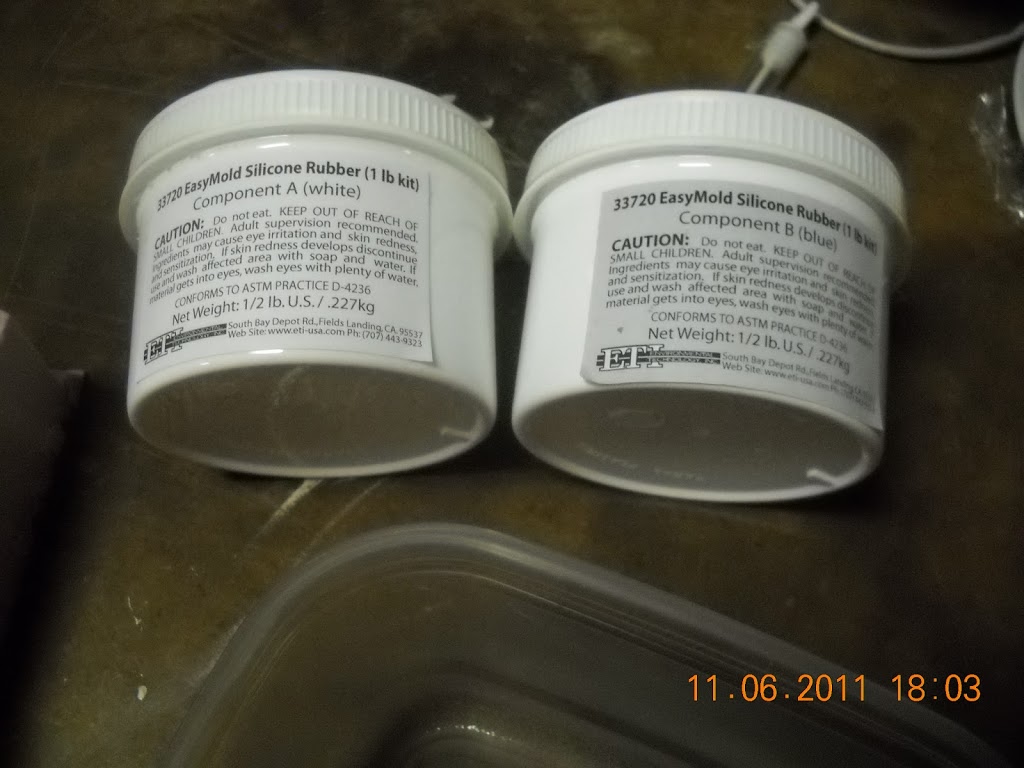
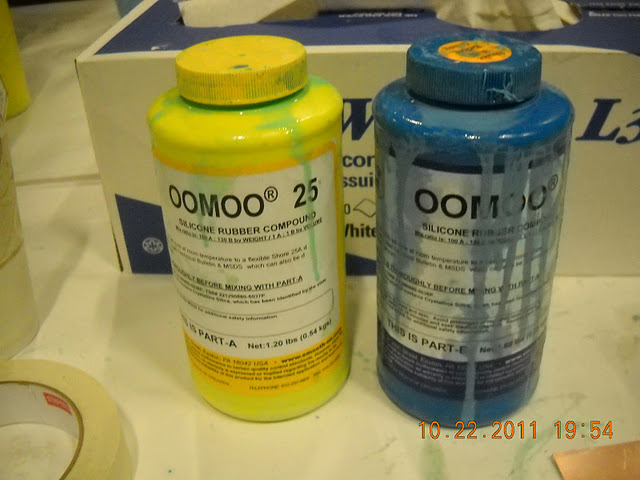
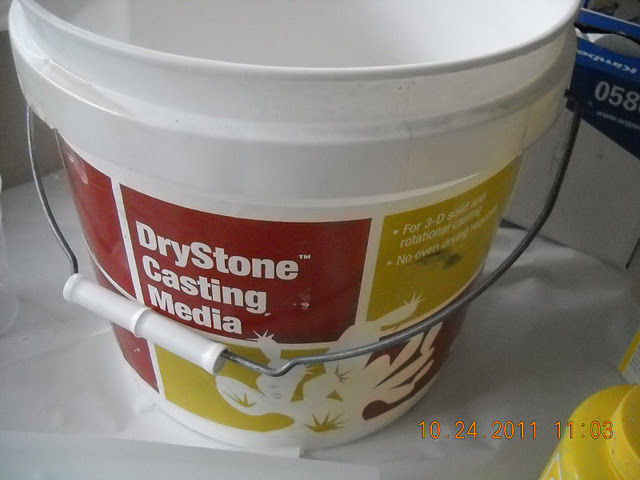
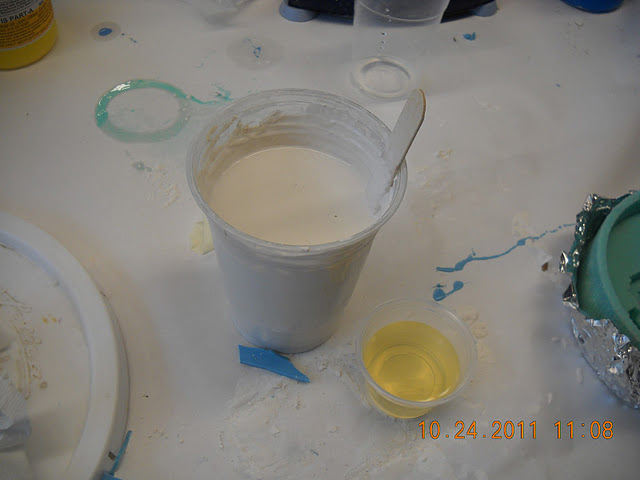
Oh, and my food-grade silicone arrived. $17 for a lb off of amazon.

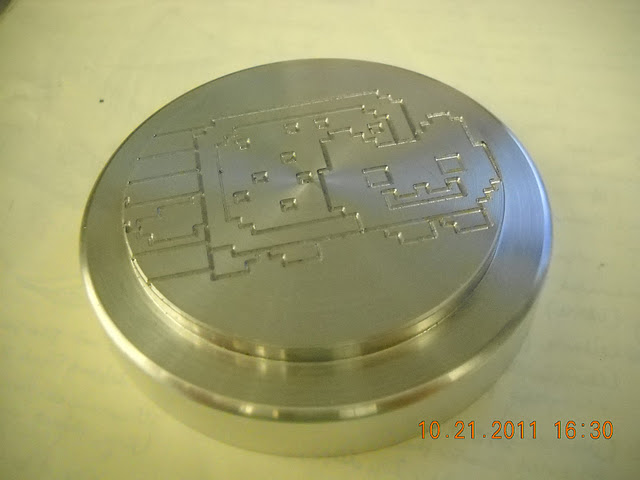
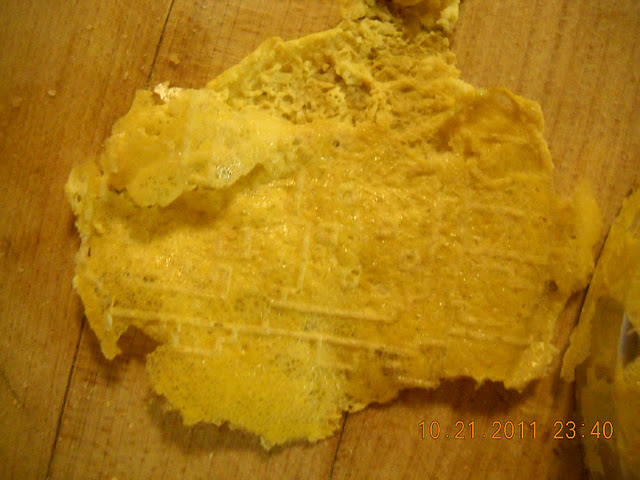
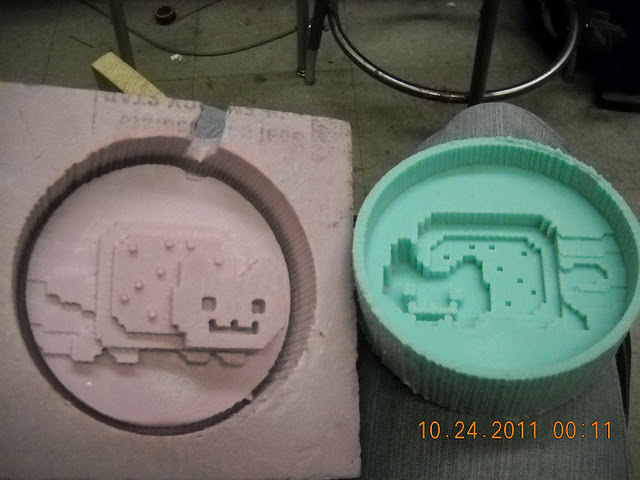
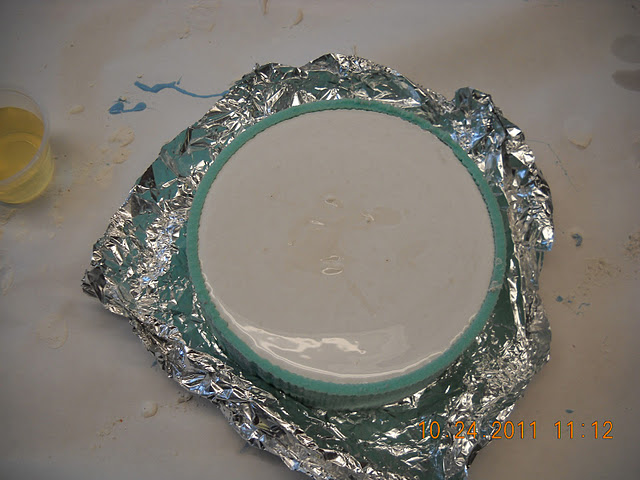
And I shopbot’d a new foam positive. But the silicone negative mold turned out fuzzy :/ with bits of construction foam attached:

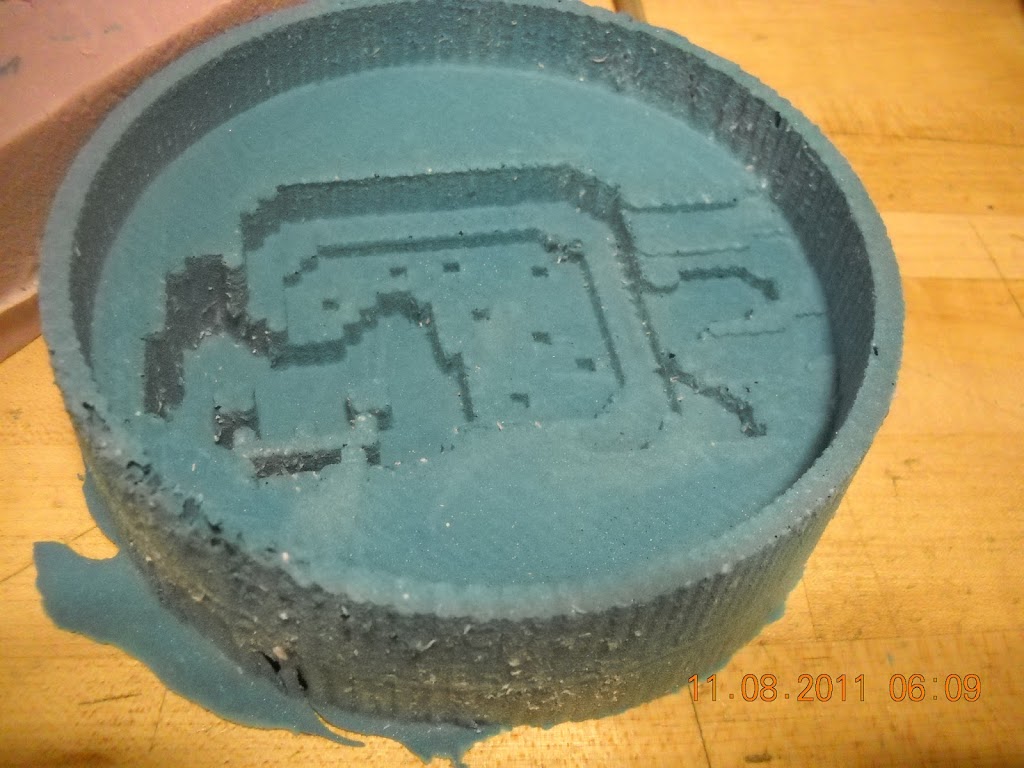
Make lots of sacrificial cake until all the foam is melted away? I’m not sure. This silicone will stand up to 400F while the foam melts pretty easily (eg at the hint of a heat gun).

My vending machine coils arrived off of ebay. They definitely look like something I could make by hand.

Also, I learned that ftdi breakout boards are indeed substitutes for ftdi cables. See here for a cool look at what you can do with ftdi:
http://hackaday.com/2009/09/22/introduction-to-ftdi-bitbang-mode/
and some more about ftdi (e.g. vs. avr programmer):
http://www.ladyada.net/learn/breakoutplus/ftdifriend.html

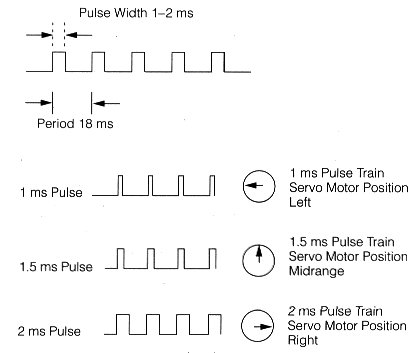
Oh, for 6.131, my final project, some research:
Our normal 6.131 555 pwm generator will not work here. Servo “PWM” signals are very specific — 2 to 4% duty cycle, 20msec period.

http://www.seattlerobotics.org/encoder/200106/16csscnt.htm

use a servo tester then:
http://www.hobbyking.com/hobbyking/store/uh_viewItem.asp?idProduct=17143 $5
or implement the circuit:
http://www.societyofrobots.com/robotforum/index.php?topic=13833.0

Also, turns out you can totally do diy soldermask (to mask the circuit traces you don’t want to accidentally solder to):
http://retromaster.wordpress.com/pcb-making/ via http://electronics.stackexchange.com/questions/15792/diy-solder-mask-toner-transfer
and a product from seeedstudio:
http://www.seeedstudio.com/wiki/index.php?title=Solder_Mask_Ink

Nyantart, “a strawberry poptart laser-engraved with nyan cat”

There’s something about watching the media lab lasercutter etch nyancat onto a strawberry poptart that is soul-deep satisfying. Surely now the quality of my education is irrefutably worth my tuition…

meta-nyan! not yet recursive…

The most difficult part of this turns out to be not eating the poptarts long enough to make it from the grocery store to the lasercutter. I’ve wanted to do this for weeks, ever since I saw the Louisville hackerspace posting: http://www.lvl1.org/2011/07/15/new-laser-cutter/, but never made it to the lasercutter until last night. (and I’d never even eaten poptarts before the first time I bought poptarts with the intention of lasercutting them, hah).

that’s the original inspiration on the right

So, first things first, go to google images and find an image to trace (I used: http://thelemurblog.com/gallery/Nyan%20Cat.png). I tried to do my grid + draw lines method that I used with solidworks, now in GIMP, but ended up simply using select-by-color + bucket-fill-entire-selection.

this is the exact picture I used, if you want to laser-etch one of your own.

Then, play around with the lasercutter settings.

This is what I found to work (sorry for the terrible formatting):

MATERIAL:  LENS:  THICKNESS:  PPI:  POWER (%):  SPEED (%):  EFFECT (cut/etch)
Poptart            2    n/a        500    40%        80%        Light raster (will cut through sugar but not burn poptart)
Poptart            2    n/a        500    40%        50%        Medium raster (will cut through sugar and lightly singe poptart)
Poptart            2    n/a        500    76%        50%        Strong raster (will cut through sugar and darkly singe poptart)
on the universal laser x2-600 (co2, 100w).

I stuck it in Coreldraw on a 32×18” bed to make sure it was placed correctly, then thanks to the Windows printer drivers, I simply hit Ctrl-P, set the settings, and printed it.

laser, do my bidding!
a few minutes and done~

Verdict: Still pretty tasty. The burnt ones tastes burnt, but both don’t taste as bad as the lasercut sugar cookies.

light and strong rasters, side-by-side

reddit?
Haha, I put this up on facebook and not half an hour later it pops up on reddit:
http://www.reddit.com/r/pics/comments/lyktg/just_a_strawberry_poptart_laserengraved_with_nyan/

I wonder how it made its way there o.o?? I only posted it on facebook (this blog post was after the fact), so it’s a little creepy.

FAQ
People wondering how they can make one of their own–
http://fslaser.com/40w-deluxe-hobby-laser-engraver-and-cutter
$2.5 to 3k 40W CO2 laser may be your best bet for cheap. It comes with caveats, though, see: http://hackaday.com/2011/04/14/buying-a-laser-cutter-from-china/ and other reviews online.
Probably a better idea to instead look at the list of hacker/makerspaces and contact your nearest one to see if they have a lasercutter you can use. http://hackerspaces.org/wiki/List_of_Hacker_Spaces
Alternatively, cut a stencil out of aluminum foil and blowtorch-singe or stovetop-pan-singe the appropriate parts. Although this tends to make a melty mess and I’m not sure how you would cut a stencil for a shape like this — I guess connect some areas with thin bridges like they do for stenciled letters.
Although probably not recommended depending on what else was cut in the lasercutter, the resultant poptart is safe to eat — it’s the equivalent of a poptart which was super-toasted in some areas (all the laser is doing is dumping heat into some parts of the poptart, it’s not dumping radiation or anything).
In fact, I stuck it in my hall’s free-food table and both nyantarts were gone in an hour. 🙂

Oh, and more pictures here:
https://picasaweb.google.com/113942194695013581888/Nyantart#

Other nyancat shenanigans in the last month of two: (e.g. cutting it out of aluminum, making a mold for it): http://www.orangenarwhals.com/search/label/nyancat

Todo
Next up: embed one of these suckers into the poptart and have it sing too!

http://www.instructables.com/id/Musical-Greeting-Card/

Then, after that, make a pressfit cookie nyancar. 🙂 Like this, but with gingerbread (this is done in masonite) and with a nyancat center:


http://fab.cba.mit.edu/classes/MIT/863.09/people/mellis/pressfit/index.html

Nyancat party! in aluminum, egg, foam, silicone, hydrostone, and drystone

MAS.863, Fall 2011
Week 6
Molding and Casting — Nyancat party! in Egg, Silicone, Plastic, Hydrostone, Aluminum, and Foam

We can use molding and casting to easily replicate a design.
The analogies between this manufacturing process and internet memes are clear.
Thus, I am compelled to make nyancats!

nyanweight? nyancoaster?

Aluminum paperweight. File done in solidworks, export as DWG to Mastercam, turned on CNC lathe (daewoo puma) and milled with engraving tool to 0.02’’ depth on CNC mill (EZ trak). Used as mold positive.


Smooth-on OOMOO25 used as silicone mold (negative). 100 parts A : 130 parts B by weight, pot time ~15 minutes, cure time ~1 hour.
 
Masking tape used to form “walls” for negative mold.

Released fine (no releasing agent used). Fine features (0.02’’) reproduced cleanly.


Hydrostone casting, positive.

Final result: one nyancat party.

nyanegg?
Just for fun: some egg?
 
End result:
 

Not so great. I await the shopbot 3D mold.

hot glue mold: jello legos
Previously on Bad Ideas:
 

Hot glue is nontoxic, right? Legos used to create positive for hot glue. Crisco applied as releasing agent — did not release well, had to pry out legos, destroying them. Jello poured in — very nice, can even see the “LEGO” lettering on the bumps. Jello lego’s had flat bottoms though, since this is a one-part mold.

nyancake?
On Saturday, I learned that I now have media lab shop access and can now devote my entire weekend to MAS.863! Yay!

I made the model in Solidworks while still hoping I could get my hands on some food safe silicone. This didnt happen, though Iḿ not sure why. Ah well. I went ahead anyway and cut my model on the shopbot out of foam
.
1/8´’ bit, though later I remember I had resized my model specifically for a 1/4´’bit which could have cut my time down by half. After 1.5 hours of cutting I had my mold (the partworks estimate was 45 minutes). The deepest parts the shopbot just barely cleared (that was nervewracking!). The cut-out toolpath the shopbot most definitely did not clear — I was prepared and hit the e-stop button immediately.


There were a lot of burrs and the finish quality was less than what Id expected. But Iḿ not complaining, since Iḿ using a shopbot to cut out an internet meme…

I attempted to deburr with a heat gun but stopped immediately when I realized I was rounding out my beloved sprinkles. I ended up using an air compressor and getting pink sprinkles all over myself.
Then I cast a negative mold with smooth-on silicone, in this case mold star slow since the arch shop was out of oomax 25. Pot time 50 mins, cure time 4 hours. After 1.5 hrs I took my mold with me instead of waiting. Mold turned out fine. Probably used half a smooth-on set of material.


I had to commit some violence to the mold original in order to get the silicone out, simply due to the geometry of the piece. The silicone separated from the foam just fine.

Drystone casting followed. Required almost exactly ~1.5 cups of material. (500grams?)

Oh, this reminds me, I´ve done sand casting before too. We helped sand-cast a cement health-friendly stove in La Vaquita, Mexico. This was a government initiative of some sort.

Files coming soon. [edit: 4 Sept 2012. So maybe not soon. But I’ll try to get around to it. Also I would like to point out to blog readers that I went on to make nyancake and nyanjello! 😀 http://www.orangenarwhals.com/search/label/nyancake