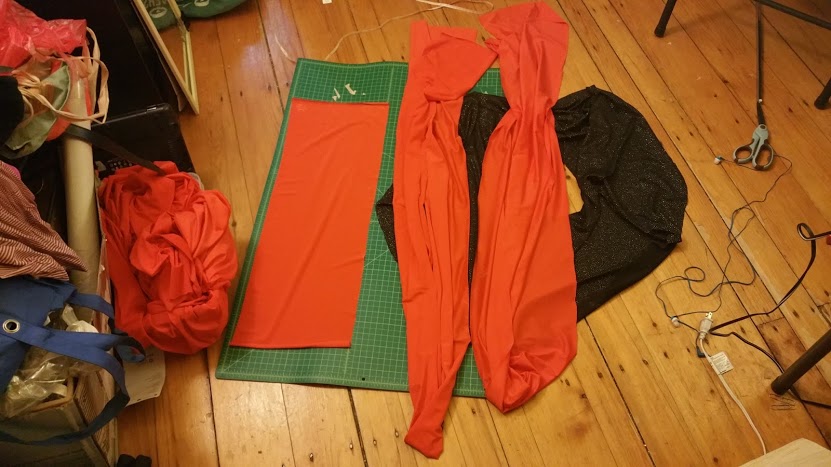
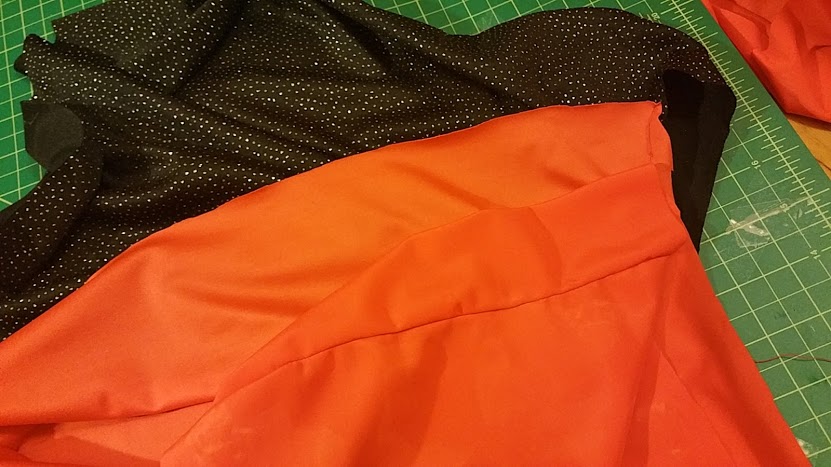
I wanted to replicate a dress I have for Open Hardware Summit (which I’m using as an excuse to start and finish a lot of projects, from heels to dress to earrings), but found it too difficult. Instead, I found this super-easy dress, which consists of just four pieces:
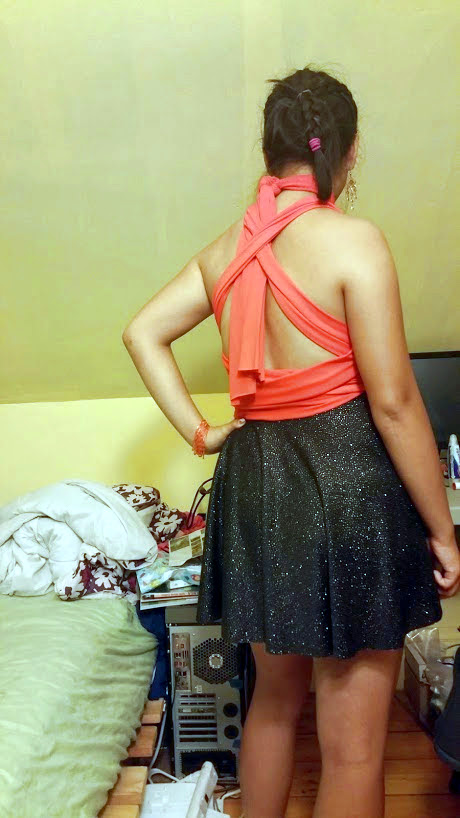
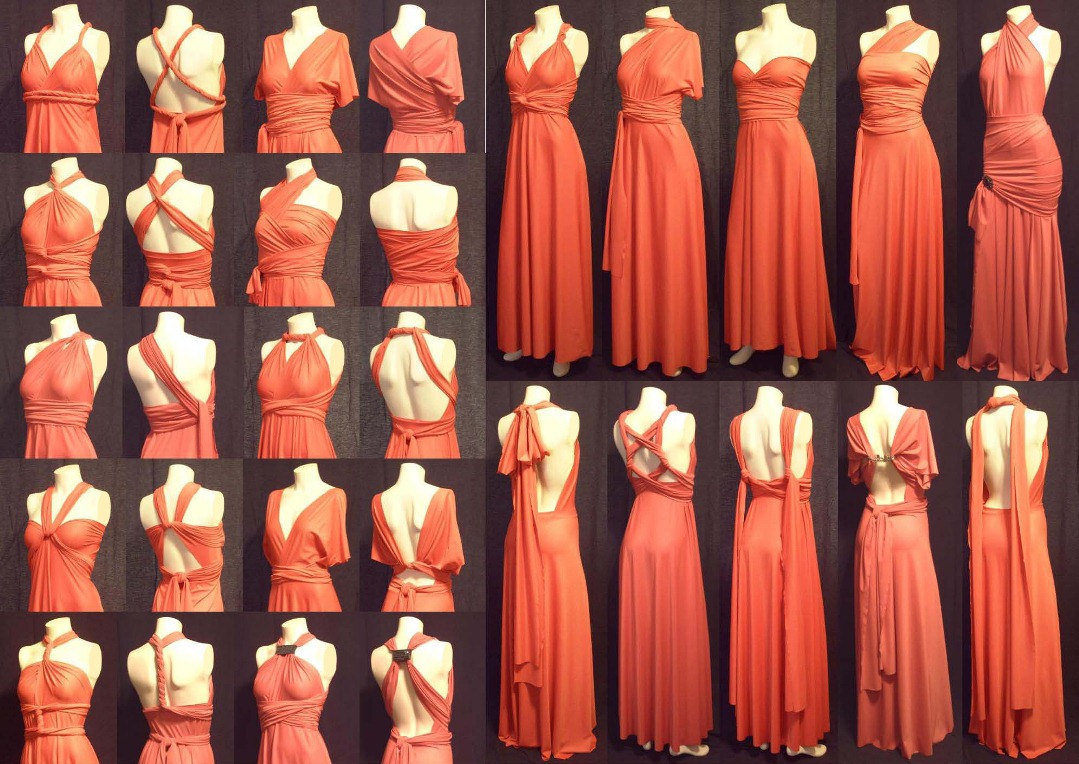
It is called an infinity dress because of all the ways you can wear it
My attempt came out more like a miniskirt due to some errors I made and lack of additional cloth. It also falls strangely on the front due to the lack of cloth pulling it down. So it goes.
To remedy it, since I have no more of that cloth and the store that sold it (Sew Low) is now closed (owner retired), I can 1) sew a different color underneath 2) wear a slip underneath 3) wear dark tights.
Additionally, the stretchy orange fabric causes… issues when it’s stretch thin. Ala wet tshirt problems. 🙁
It was all pretty straightforward. I’ll just document my measurements and cloth dimensions here.
height 64.5”
waist 31.5”
chest center to armpit back 10.5”
bottom of ribcage to top of breasts 6”
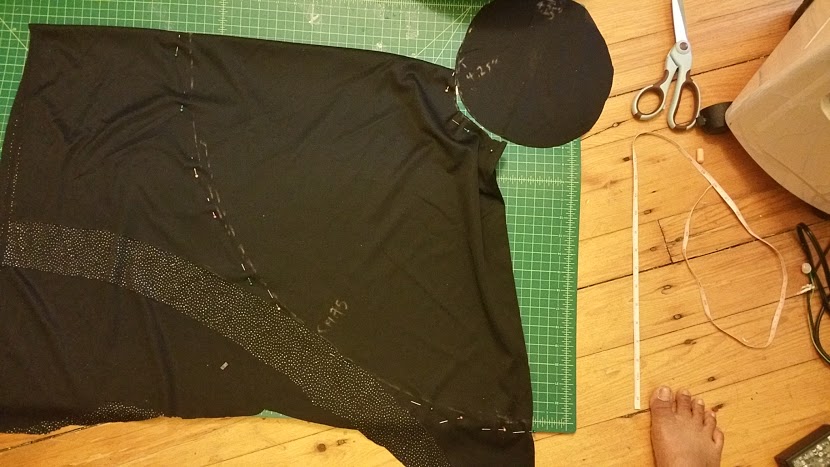
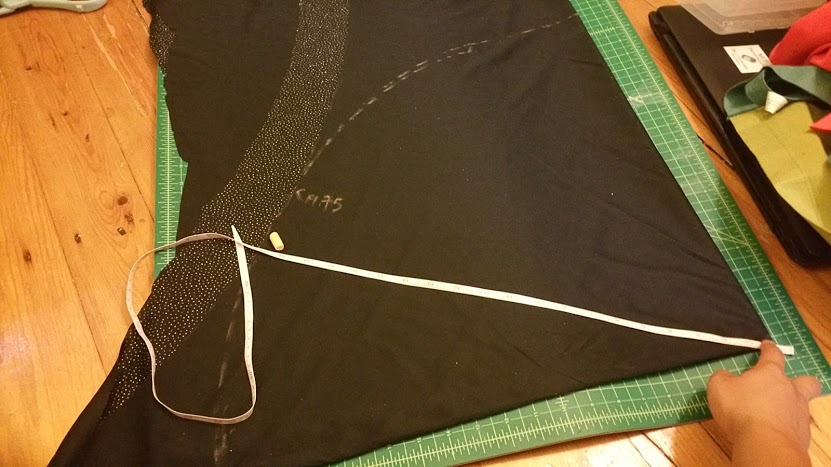
For the circle, my inner radius was 4.25” and my outer radius was 19.75”. Here is a picture (with the inner circle unfolded to show that the cloth is folded into quarters). I made the waist smaller than intended and it fit fine on my waist without falling down or being too small (although it did get on the smaller end of acceptable after I finished sewing everything to it).
I mark it, I used a piece of chalk and a tape measure, then anchored my right hand at the center of the circle and swung the tape around.
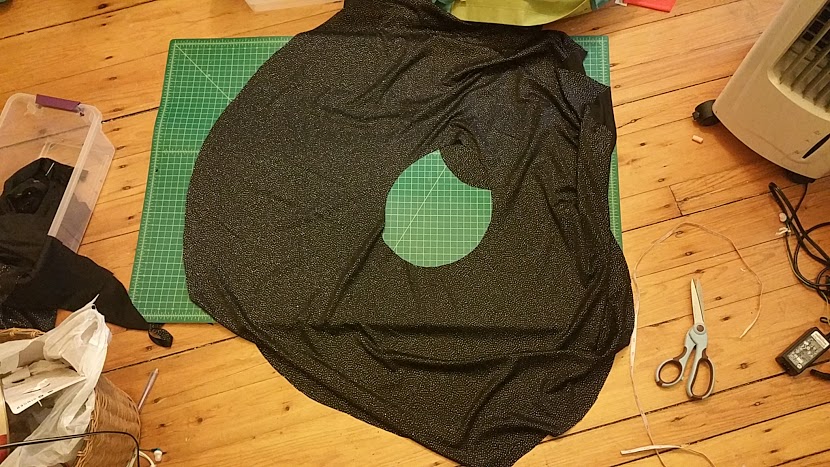
Unfolded
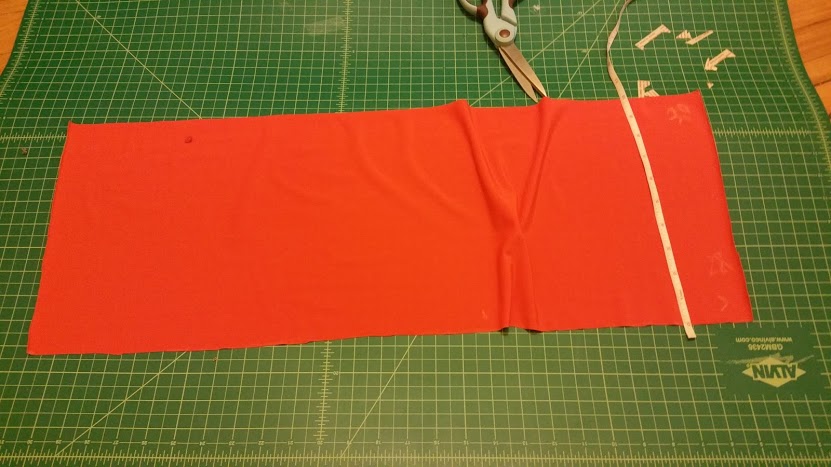
My rectangular cloth was 10” by 28”.
My long straps were 10.5” by 97”. I pinned them extensively down their entire length and the cutting was straightforward, although extremely tedious. The mat actually helped a lot, since I could line up the clean edges on the mat and actually see through the fabric to the white lines on the mat and mark down the entire length.
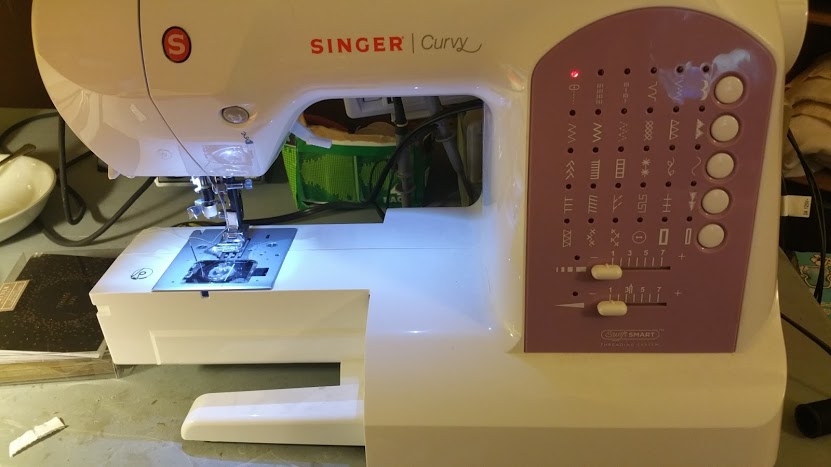
I used a single stitch, the straight stitch, no zigzag stitch needed (the second row on the machine), because the orange fabric was super stretchy.
The only part I found tricky* was which side to sew the rectangle (turned into cylinder) on onto the dress. I almost sewed it on the wrong side. It should be sewn with the top part of the right side is facing you and the bottom part of the right side is facing the mat, and the wrong side is facing itself on the inside. That way, when you put on the dress, the right side is facing out. The right side of the cylinder is facing the wrong side of the straps. The right side of the straps is facing the right side of the skirt. The bottom part of the right side of the skirt is facing the mat.
*I messed up on the skirt mostly because I wasn’t really paying attention and was listening to a podcast 🙁 I folded it in half and cut out the quarter circle, instead of folding it into quarters. Unfolded, I got two useless halves of cloth instead of a circular skirt.
All told it took me 8 hours to go from first reading the instructions to wearing the dress.
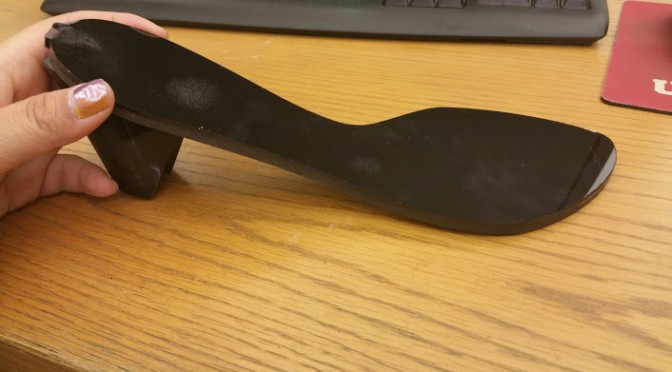
The Open Source Hardware summit 2015 is coming up. In preparation for that, I tried to make origami acrylic heels on the lasercutter.
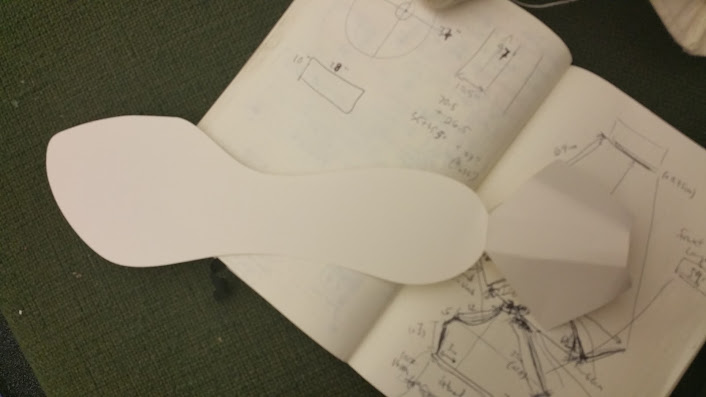
To start with, I traced an existing pair of heels that fit my feet (although I eventually want to modify the design, the straps are tough on my 4th toe).
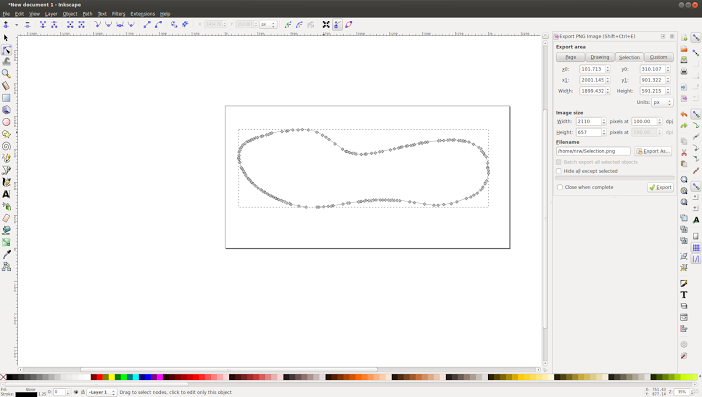
I took a picture of the heel and then using inkscape “select continuous region by color” (shortkey: U) and the quick mask mode (to edit the selection more easily), (shortkey: shift-q I think) made a selection of the outline of the shoe. Then right click > Selection > To Path. In the paths toolbar tab, right click > export path and save as SVG.
Open in inkscape.
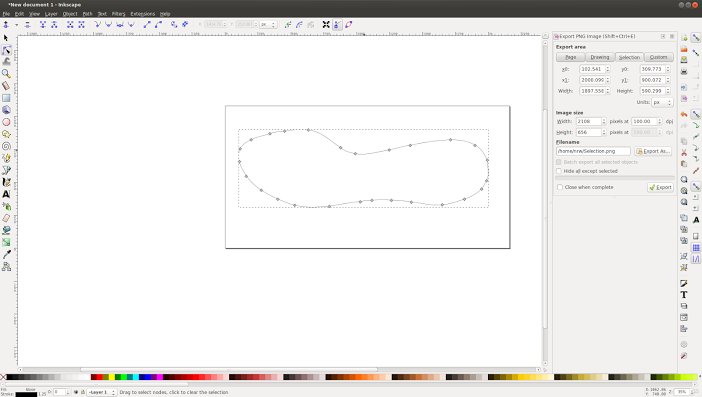
Ctrl-L to simplify.
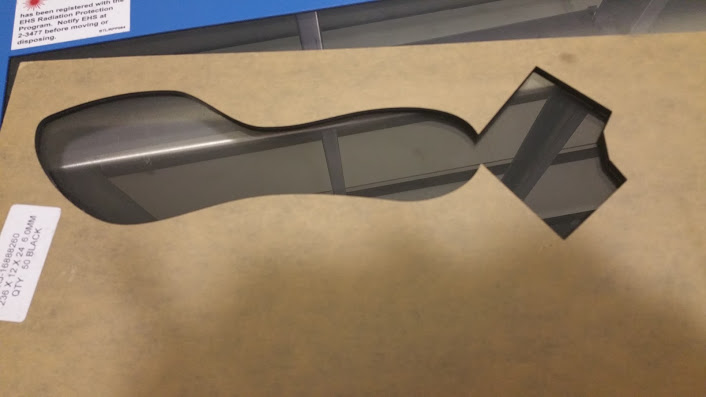
Now for the origami part. Credit for the idea goes to my friend M. We drew it out and prototyped it on paper first.
After scratching our heads a bit about the bending radius of the acrylic,which can get sharp 90 deg on the inner bend, we decided to go ahead and cut it out.
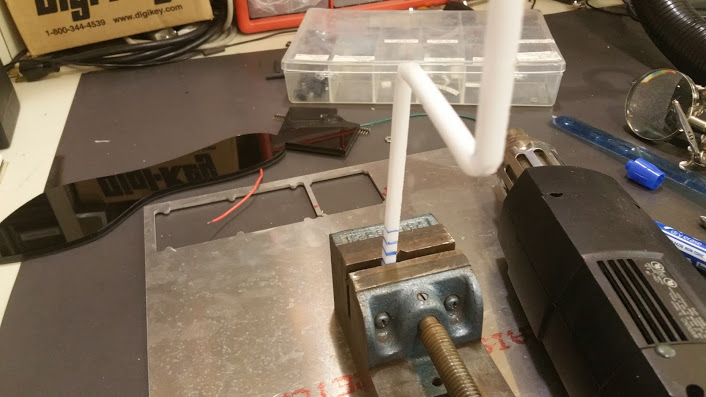
Now for the annoying manual bending step.I used a heat gun on hi for this, and would run it back and forth along the bend for about 40-50 seconds.
First I got some practic and some calibration in. Mark half-inches
then bend.
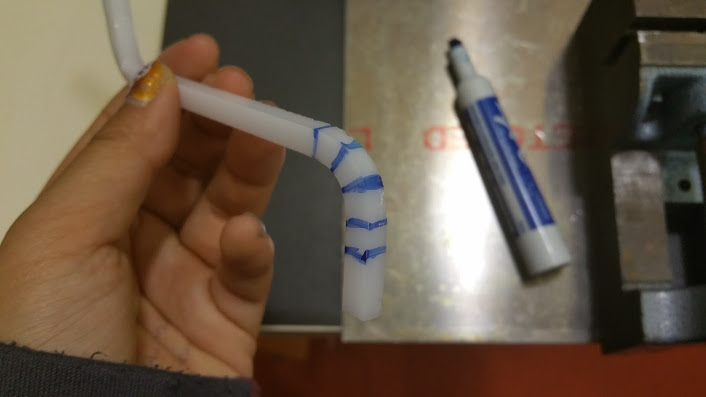
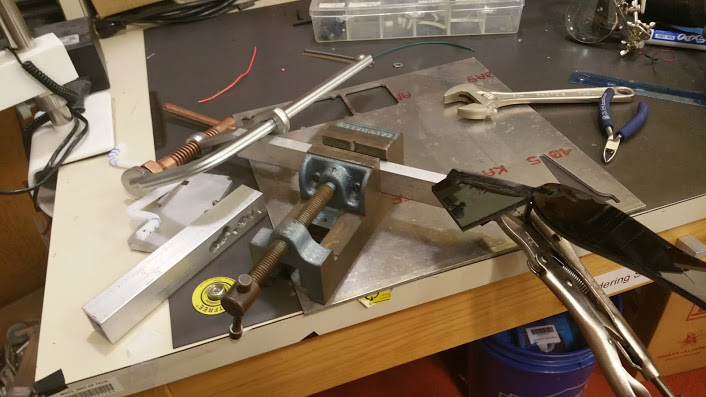
Now to try it on the heel. I thought I should bend one side first
but still ran into issues when it was time for the other two bends, since they interfered with any attempts to clamp them for heating.
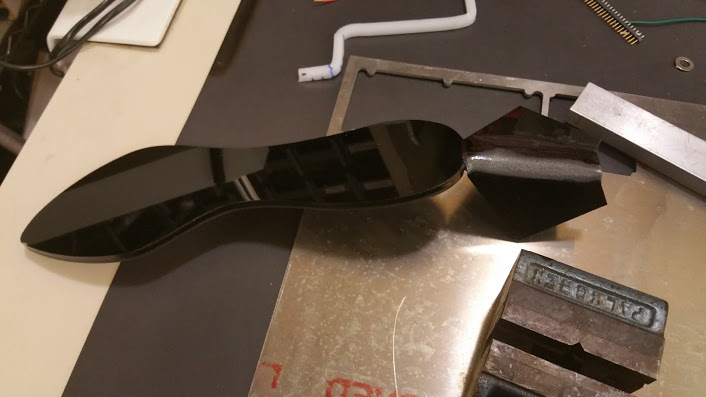
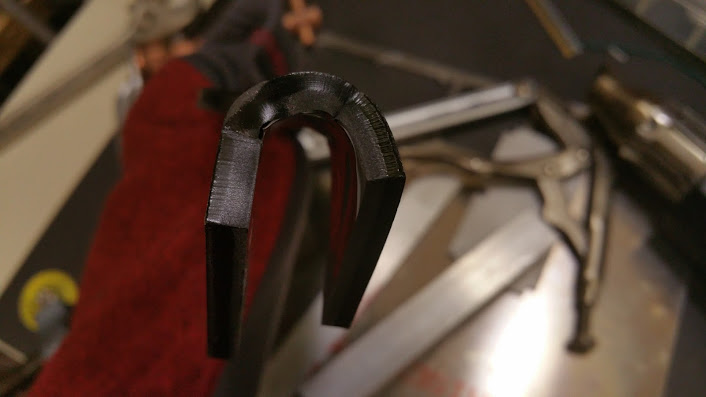
Also, I may not have heated both sides of the acrylic enough, since the acrylic became bubbly when I bent it. . You also have to hold down the acrylic for a while while it cools, with something heat-resistant, or else it springs up a little. Here’s a picture of the issues with the second bend, which I couldn’t get as sharp
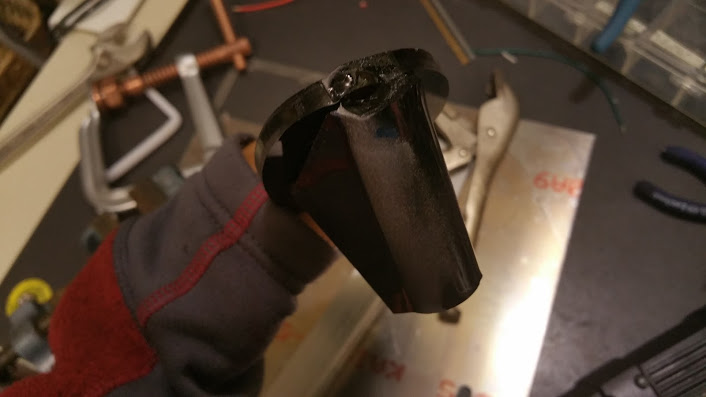
On the final bend, the acrylic outright cracked.
At this point, I gave up. Here’s a picture of what it should look like, with me manually holding the pieces in place, and without testing by stepping on it and walking around in it.
I think I’ll be going with a 3d printed heel and have LEDs in it. I might return to this if I ever feel like duplicating the LaserOrigami setup.
I wrote the author of LaserOrigami for more documentation, who kindly replied
The most important things are the following:
– you need to move the cutting table far away to defocus the laser (I set the z-value to 50mm or more to get a thick stripe where the material gets warm)
– the laser comes from above and thus heats the material from the top. to have it bend, the material needs to be warm from the top and bottom, so you need to run the laser a couple of times back and forth with low power so that the heat has time to sink through the material. only when the material is warm at the top and bottom it will bend.
—> if you have too much laser power, the material will be too hot at the top (you will see heat bubbles) and not yet warm at the bottom. reduce the power or increase the speed and try again.
– be aware that if you have a filter running, the air suction will cool the material a bit. so settings are different depending on how much you turn on the filter (best is to decide upfront how much you have the filter on and stick with it). the settings are also a bit different if you cut close to the air suction slit or further away.