

This Friday, I learned that the PCBs I’d ordered from 4pcb and expected to arrive Saturday weren’t arriving until Monday (silly shipping services that don’t work on weekends). Thus, I decided to join an impromptu camping trip!
I know, I know, after my first time backpacking a few weeks ago I promised to never do outdoors things again and instead vegetate in bed and watch movies. Oops.
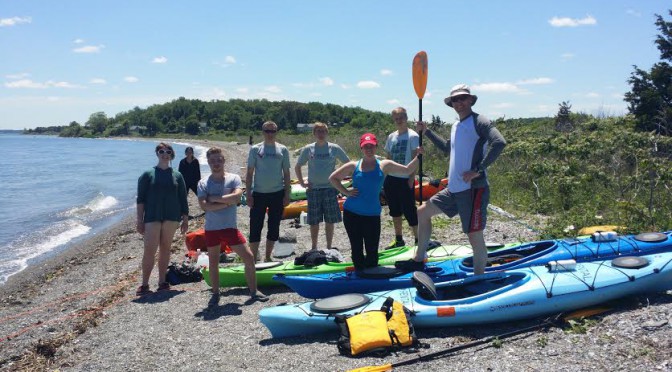
Okay, wait, actually there was kayaking involved. Well, it seems like there were other inexperienced kayakers, a lot of people, and some experienced kayakers, so I went full-speed ahead. 😀
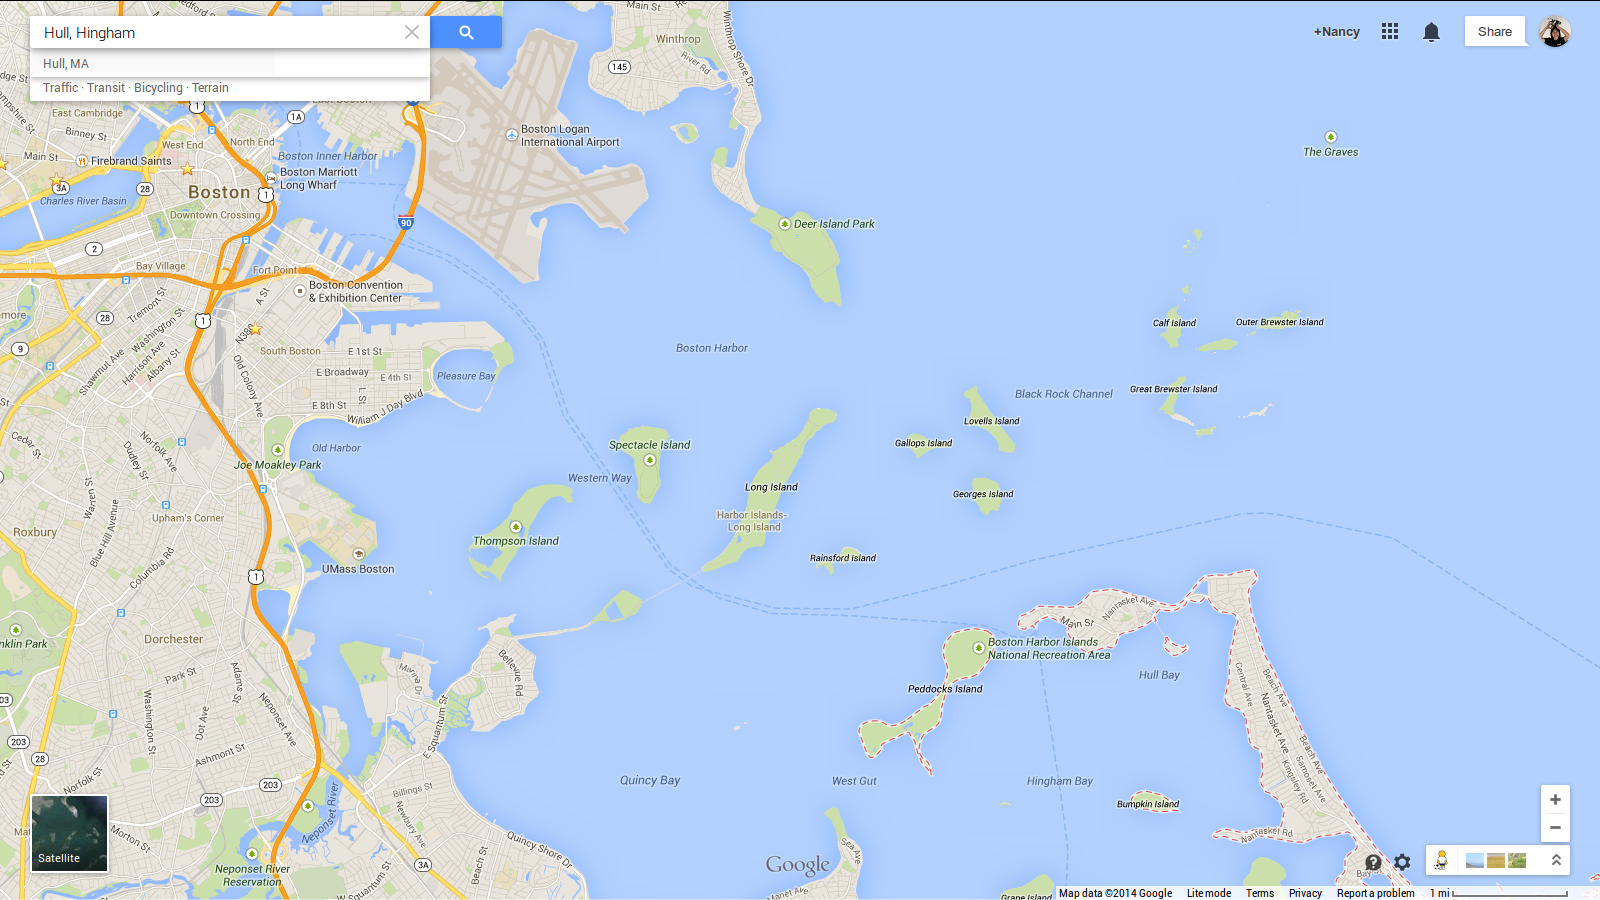
The plan was to go with the tide out on a calm-ish sea to some tiny island 3 km out from hingham hull, to Lovell’s Island I believe. Alright. After some shenanigans, I am approved to go along the trip with some MITOC gear rented by Molly, who is actually boathouse-approved.
Since MITERS is in the same building as the MITOC boathouse, I had often seen people unloading and loading kayaks from cars, but I never thought I’d be one of those people. Hurray for infiltrating new friend circles! This time, it was through the coworking space NarwhalEdu works out of, the pirateship. In total there were nine of us, over half of who were from Iceland and who happened to be in Boston for a month.
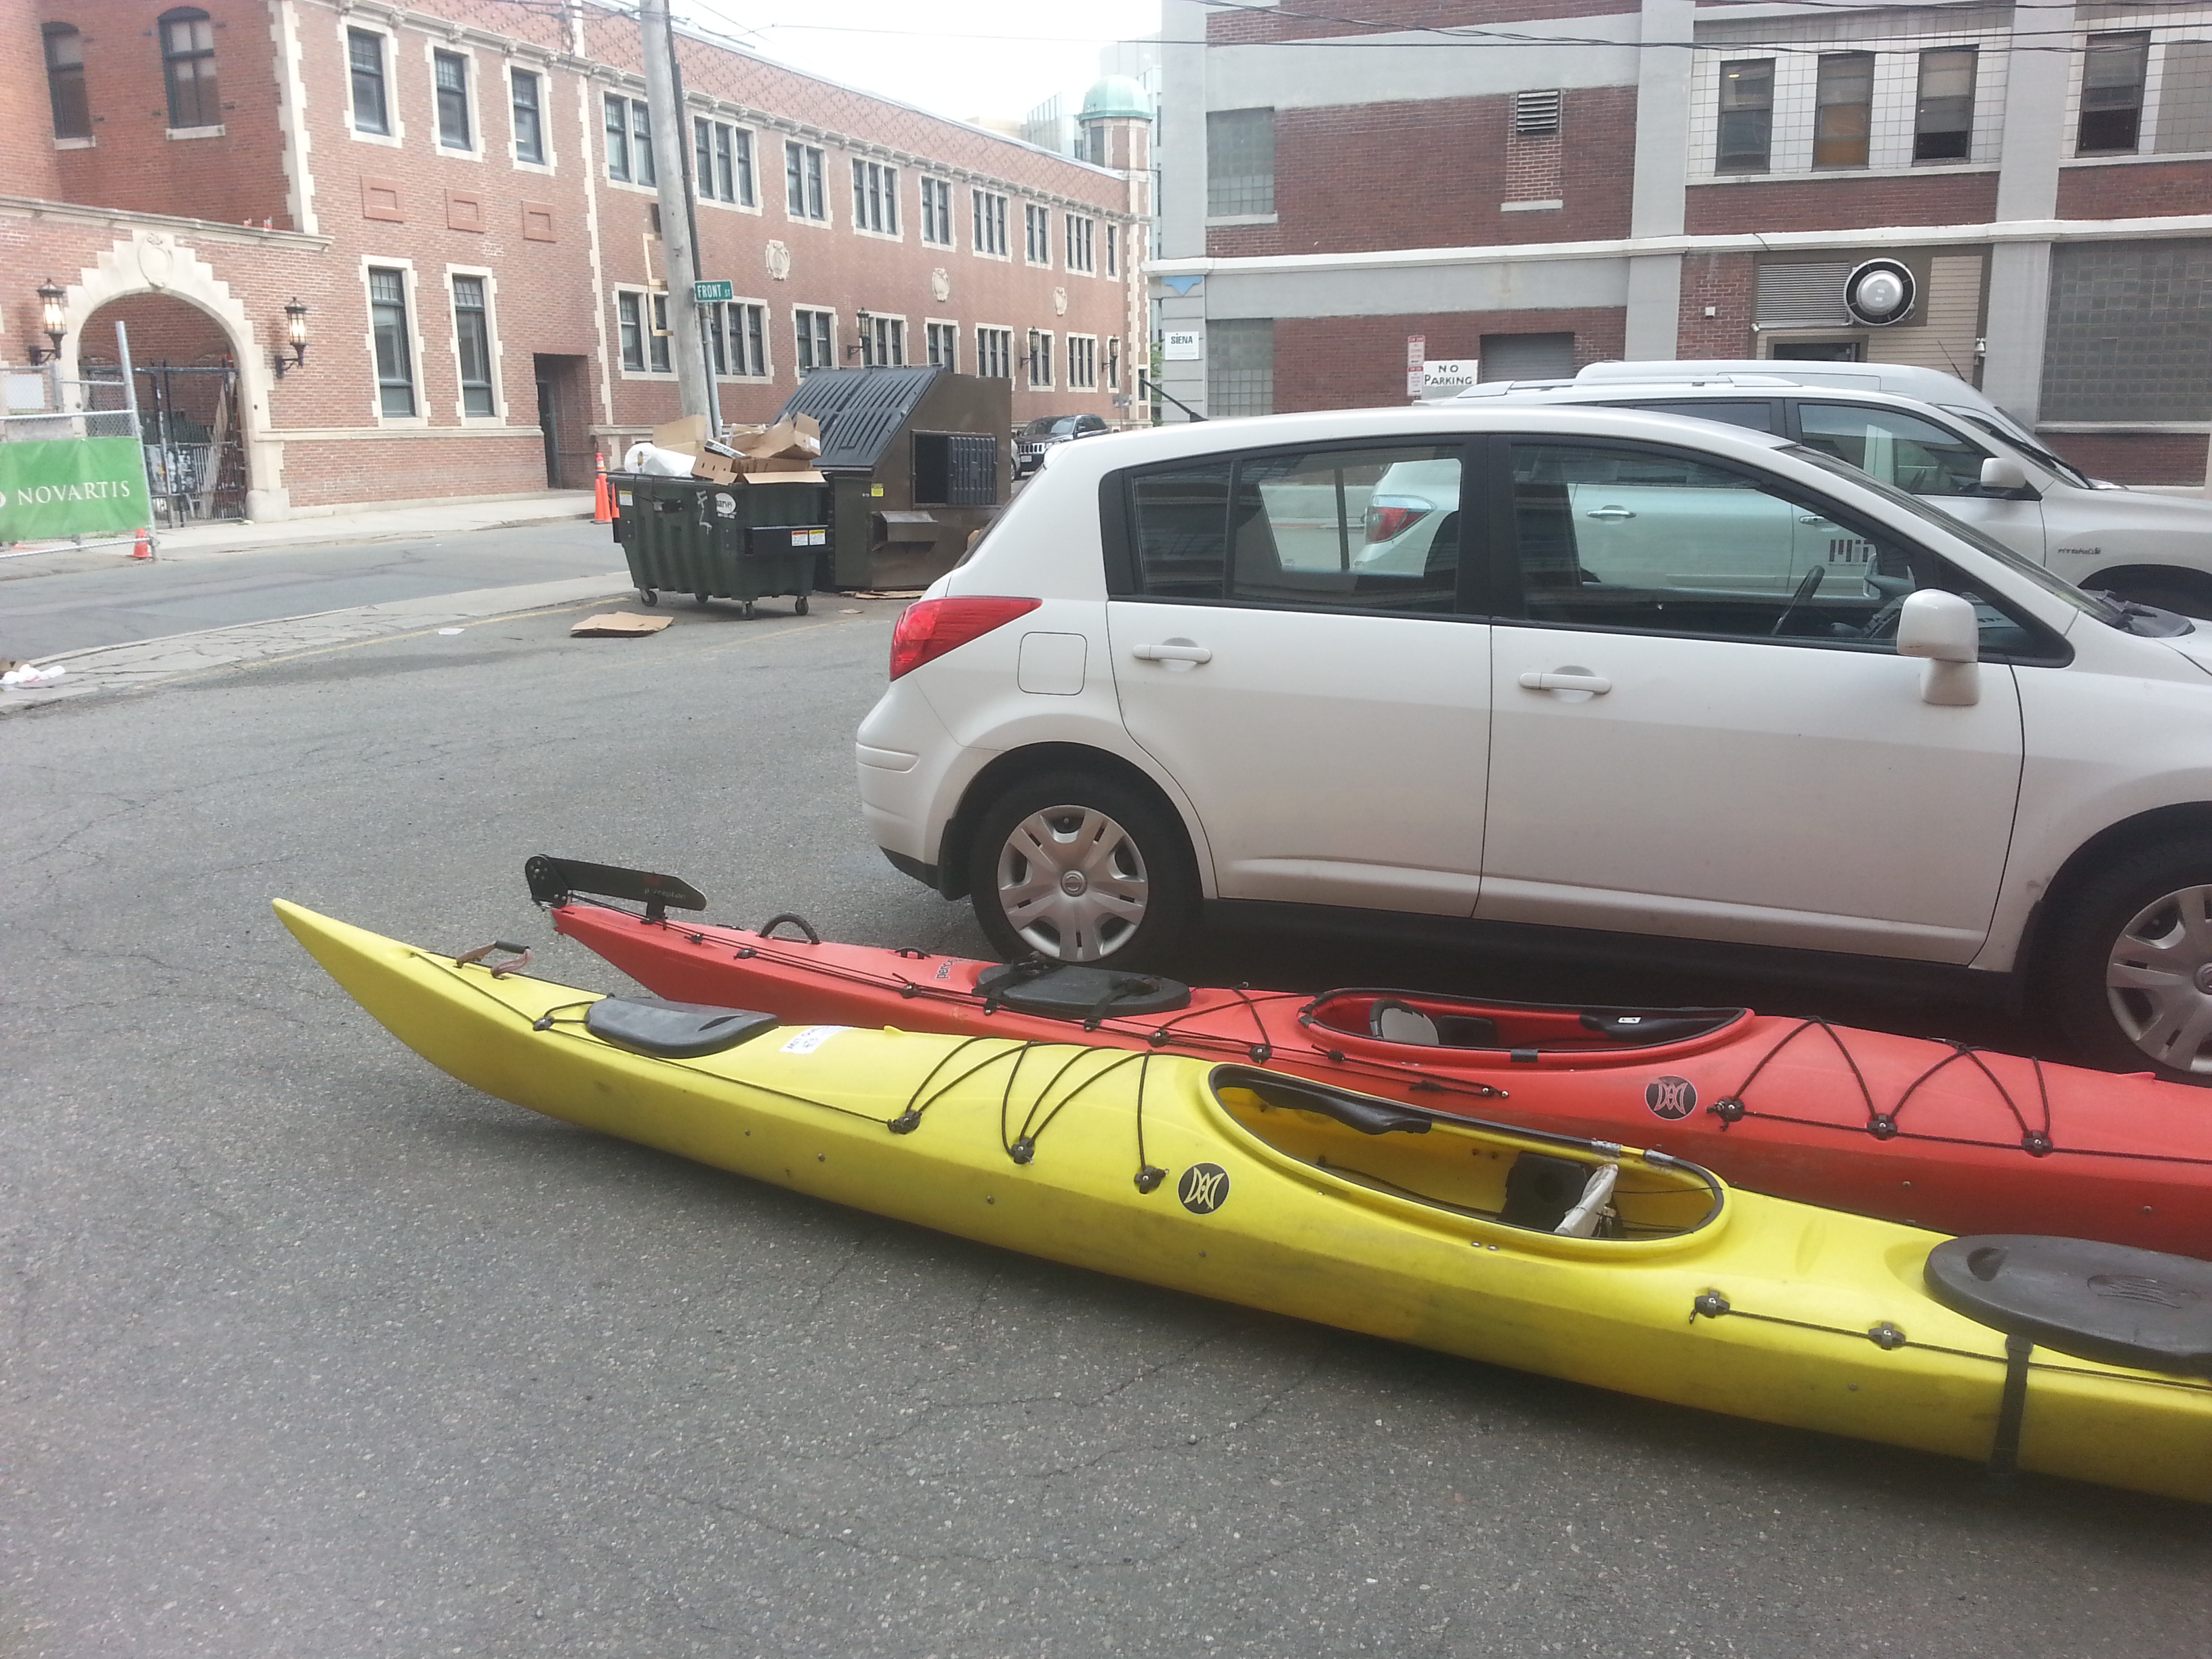
The first ordeal was figuring out how to strap the kayaks to the car. I was pretty dubious about the light foam pads (blocks) and straps we used, and the whole tieing it through the car deal.
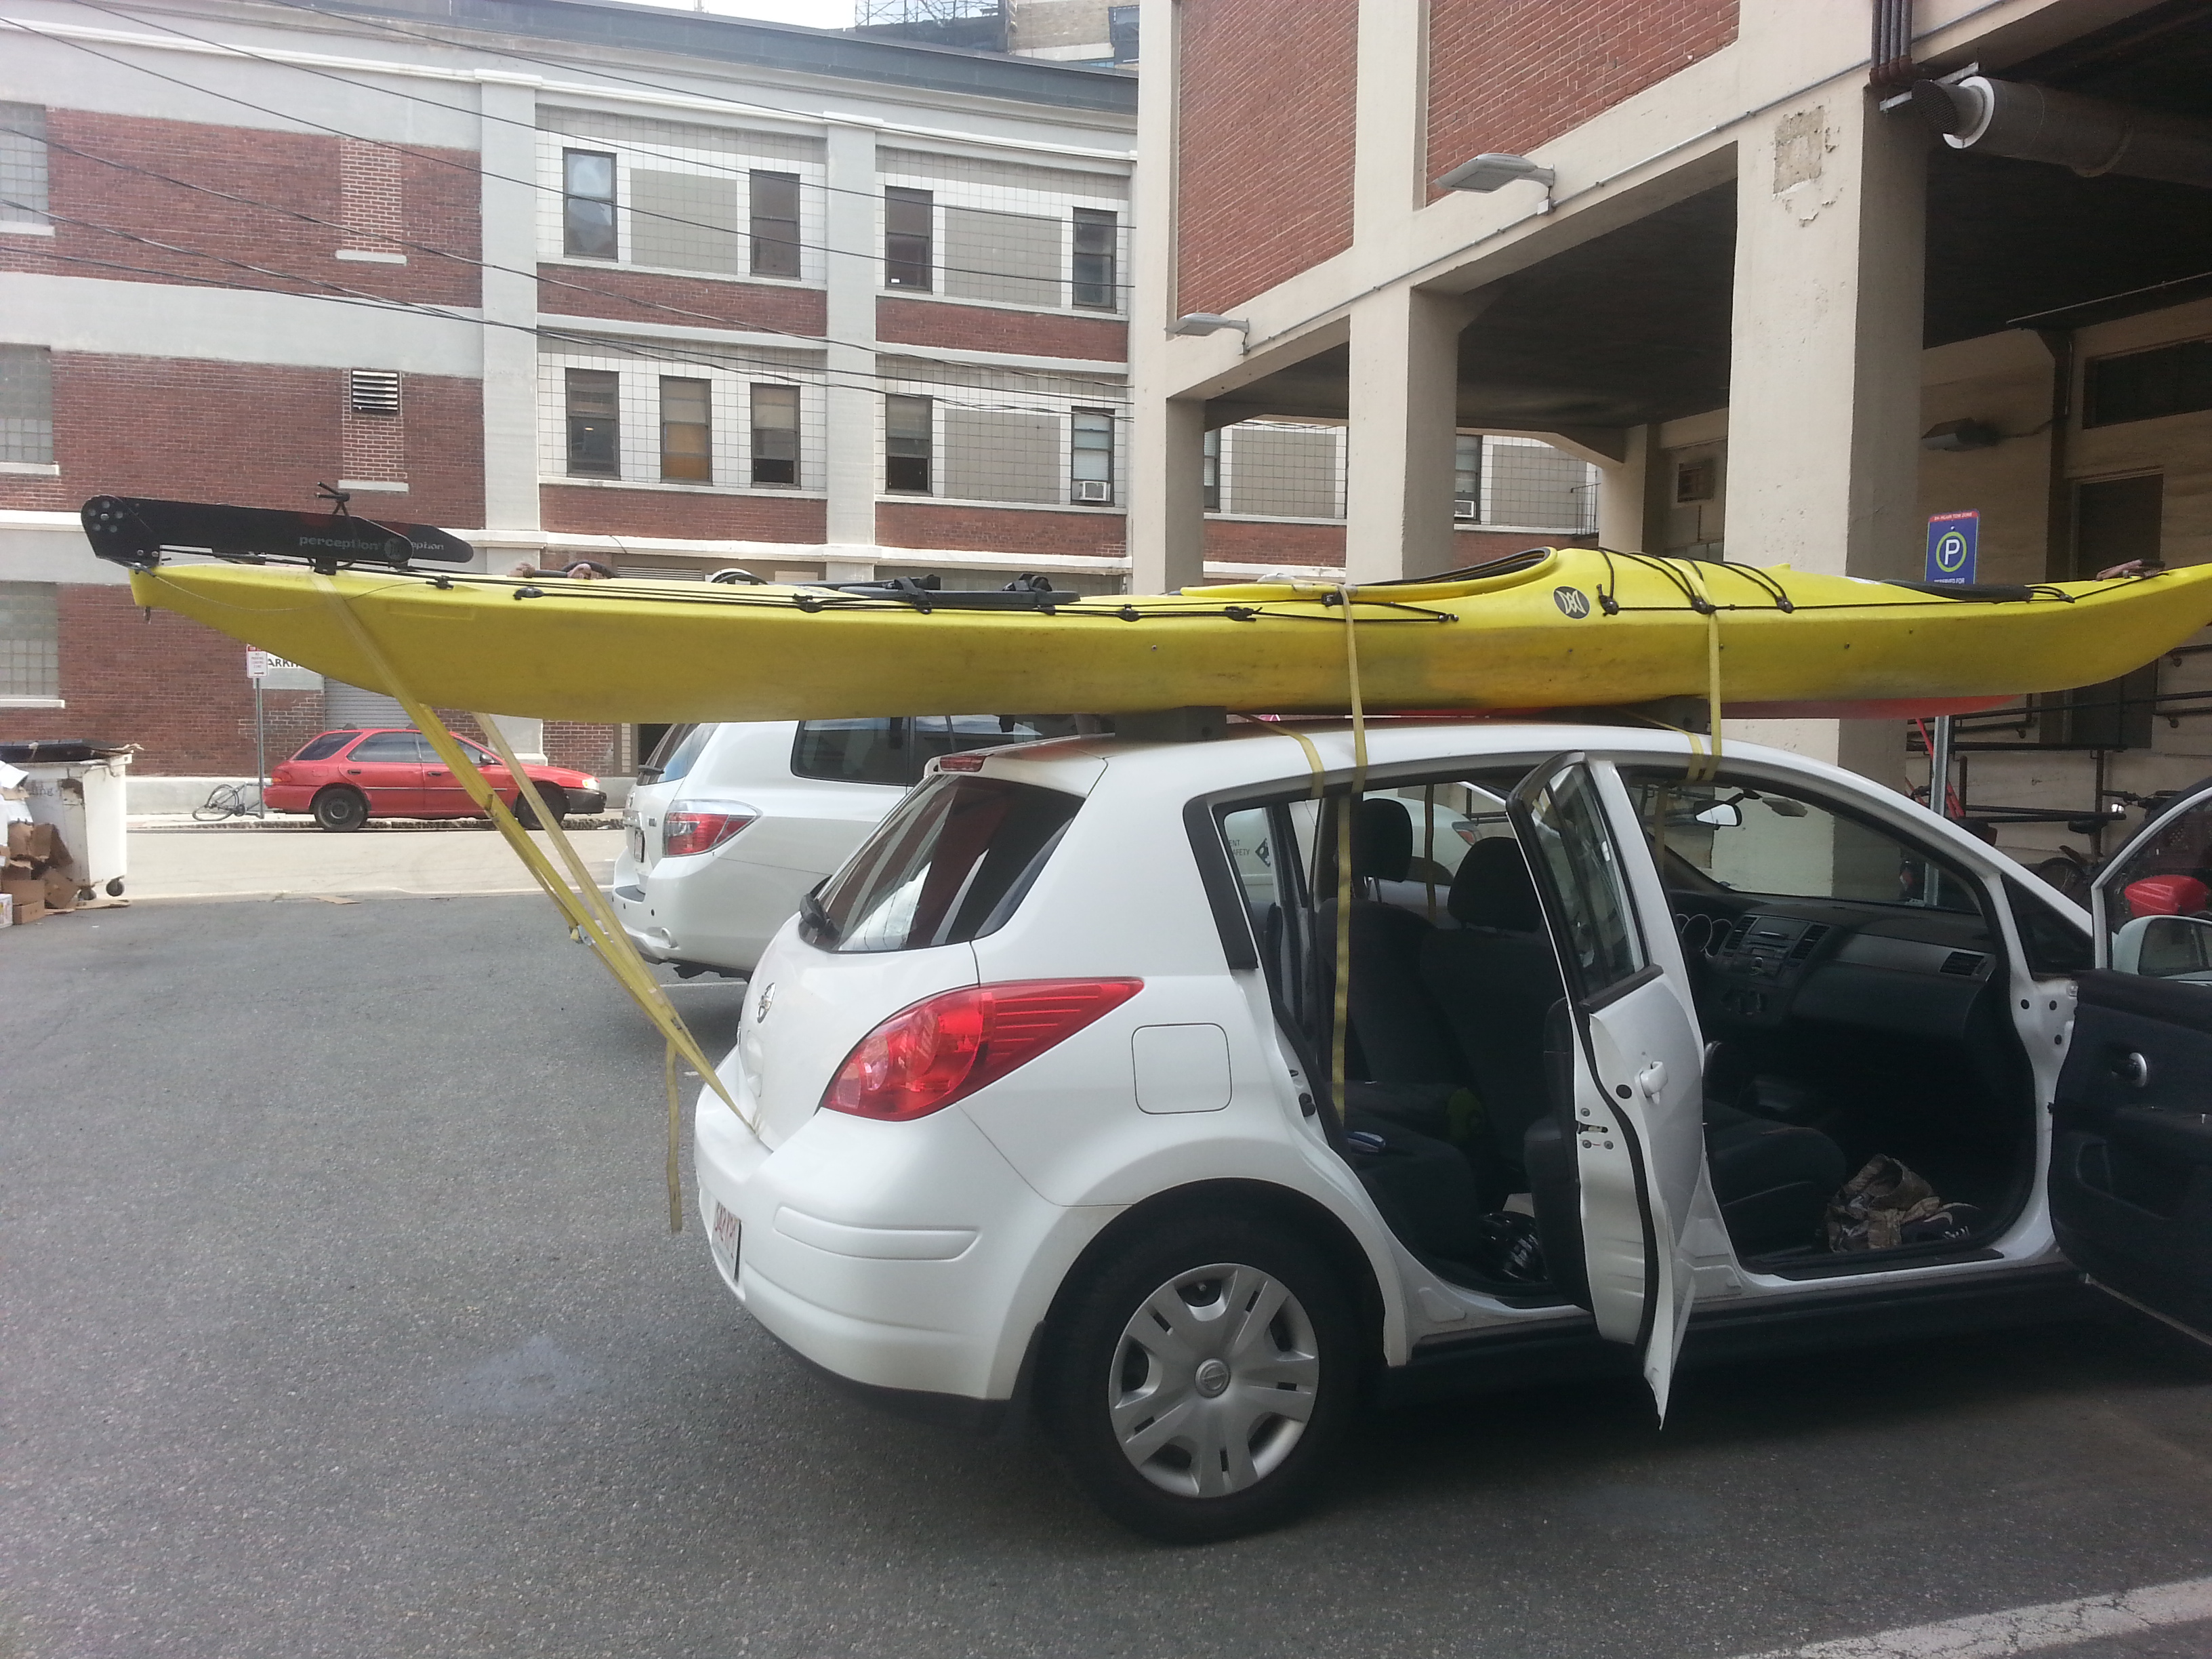
Off we went, a little nervously. We shoved the boats toward the center, but they tended to move outwards as we travelled. I read up on kayaking on the internet on the way while eyeing the kayaks frequently to see if they were looking shaky.
Probably I should have just asked Molly about how a sea kayak works. I, not being vocal enough about the fact that I had never been kayaking before, let alone sea kayaking, rather drastically changed the course of our trip. See you some other time Lovell’s Island 🙂 I still had an absolutely awesome time though.
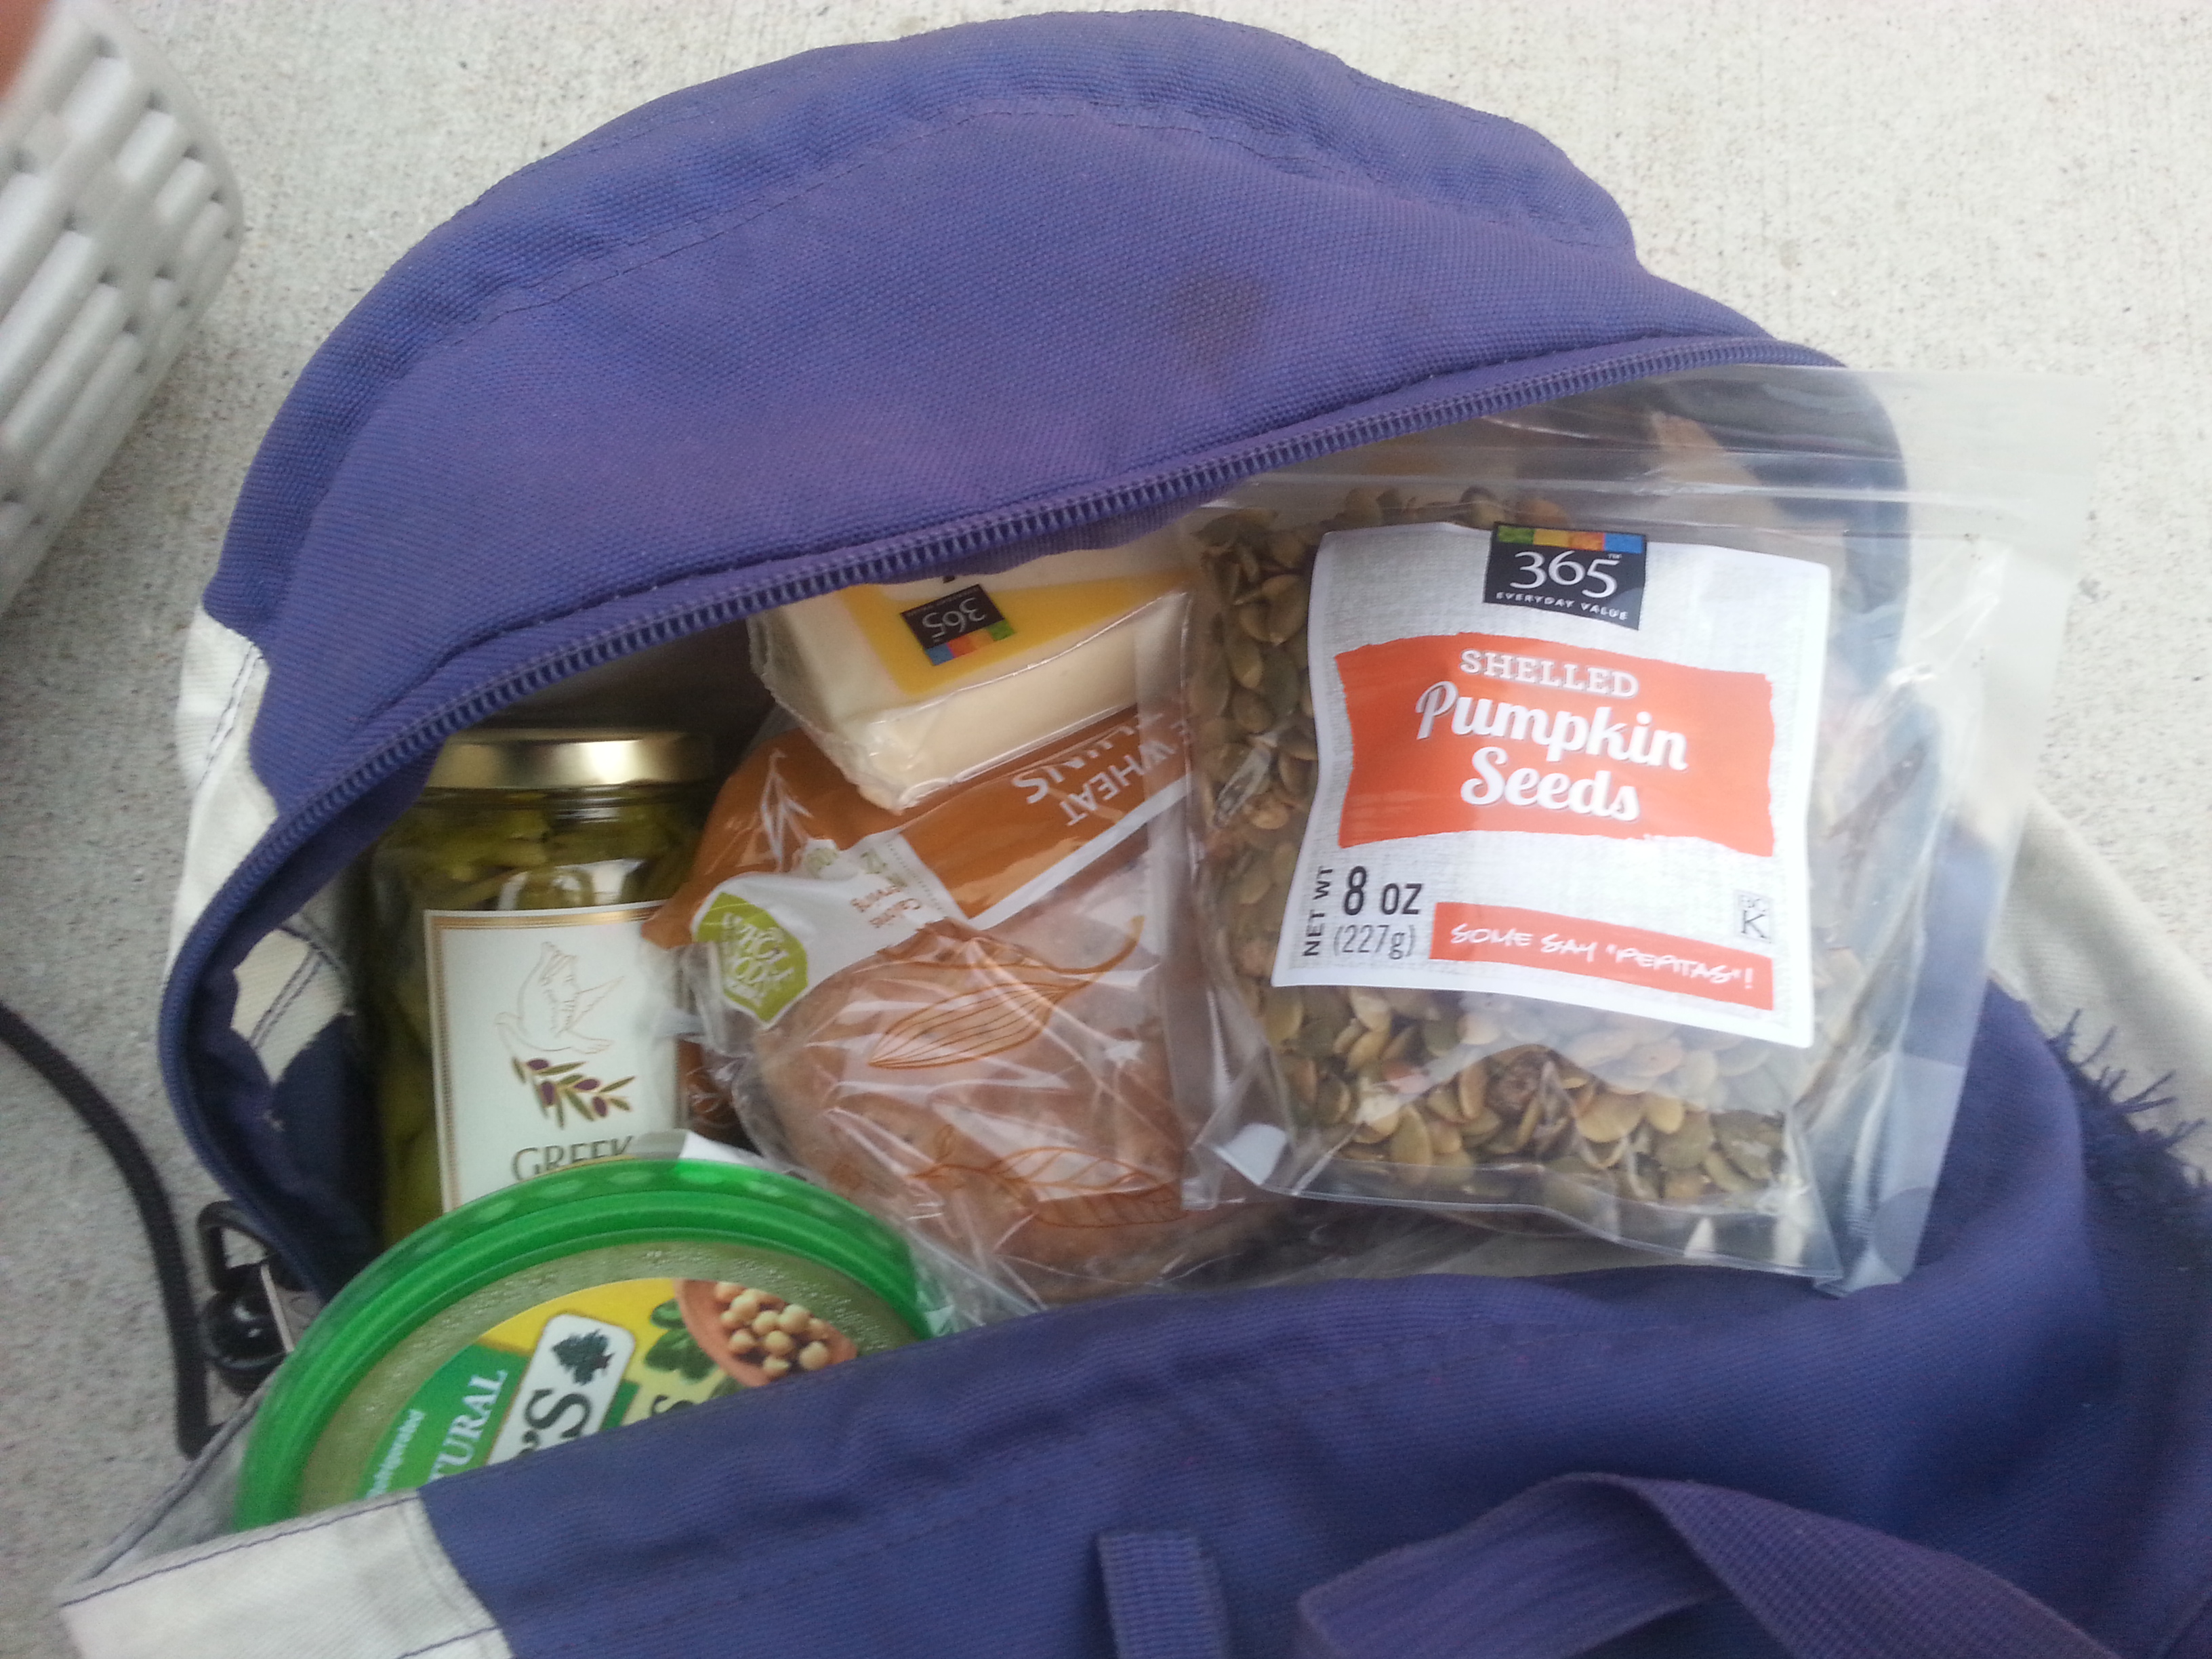
Here are the results of our food pit stop at Whole Foods. I would like to thank Cappie and Sheep for introducing me to pickled pepperocini peppers. Sooo delicious. We also grabbed toilet paper, gallon ziplock bags, and instant coffee
Our packing list was recommended by Erik as:
– Food
— Water (1 gallon aka 4 liters a person)
— Clothes that can get wet (running shorts or swim trunks are a
good idea)
— Clothes that keep you from getting wet (if it rains)
— Shoes or sandals that can get wet, and shoes that can stay dry
— Tent/shelter
— Sleeping bag
— Headlamp/flashlight
— Knife, utensils
— Lighter
— Bandaids, tape, basic first aid kit (I can bring)
— Medium-sized dry bag to hold some clothes and valuables that can’t get wet
The amount of water was a bit surprising to me, since while backpacking in Virginia I consumed at most 2L of water a day. Then I realized there weren’t any water sources on the island, so this included water for oral hygiene and cooking and coffee, as well as an emergency amount of water.
All in all I ended up with a 55F sleeping bag, sleeping pad, my giant winter coat (super happy I brought it), long synthetic pants, long rain pants, synthetic full-sleeve jacket, three shirts, short pants, two pairs of underwear, socks, flip flops, and velcro sandals. Headlamp was critical, of course. A lot of this was borrowed from Molly — thanks Molly! Instead of a dry bag, I used a large trash bag, and that was okay. Sunscreen was critical.
If I did this over again, I would have packed some comfortable closed-toed shoes (there are actually shoes called boat shoes!), since with the flip flops and sandals I just kept getting dirt and rocks in them. Luckily it didn’t rain at all.
Anyway, we eventually set out around when the sun is setting. It’s dark by the time we get going, but the moon is nearly full (albeit behind clouds) so there’s plenty of light. The headlamps help us identify each other and hopefully keep night-time boats from crashing into us.
This is where I get a crash course in kayaking.
- These kayaks have steerable rudders which can be pulled up or down from the water by ropes near you when you are sitting in the kayak. These rudders are turned left or right by pedals. Me: “I wonder why I am drifting right, it sure is hard to paddle straight like everyone else.”
There was this really classic moment where someone asked me to test my pedals, and I really had no idea what they were talking about. - Be sure to pull the pedals up to where you can comfortably reach them without leaning back. This will help a lot with fatigue.
- You can use both hands when pulling a stroke. One push, one pull.
- The skirts are used to prevent water from the paddles from soaking you all the time.
- You will get wet.
- Pedal on the same side you want to turn, paddle on the opposite side.
- Fighting the current will make you fairly sad. Having the wind and current in opposite directions will make you fairly sad too.
- Point your kayak into waves, e.g. from a passing powerboat.
- Give a good distance from shore to avoid crashing into it. If you do crash into it, the only solution may be to get out of the kayak and relaunch.
- Life jacket is required, bailer, water, and snacks go behind your seat.
- Small things go in first into the tip of the canoe and then larger things.
- Be sure to beach your boat above high tide if it will be there for a while.
Eventually after the experienced kayakers, who are staying behind to help me, realize I am making no progress at all against the current, we abort the plan and decide to go to the nearby Peddocks Island and make the best of it.


We reach the island, which in the daytime turns out to be super close by. We set up a fire and cook awesome jumbo marshmellows and other food and set up a campsite.
(click to enlarge)
Anyway, pro-tip, if you’re going kayaking for the first time probably best not to do it out on the sea in the dark against the current with a group of people who you don’t really know that well and are more experienced / stronger than you are.
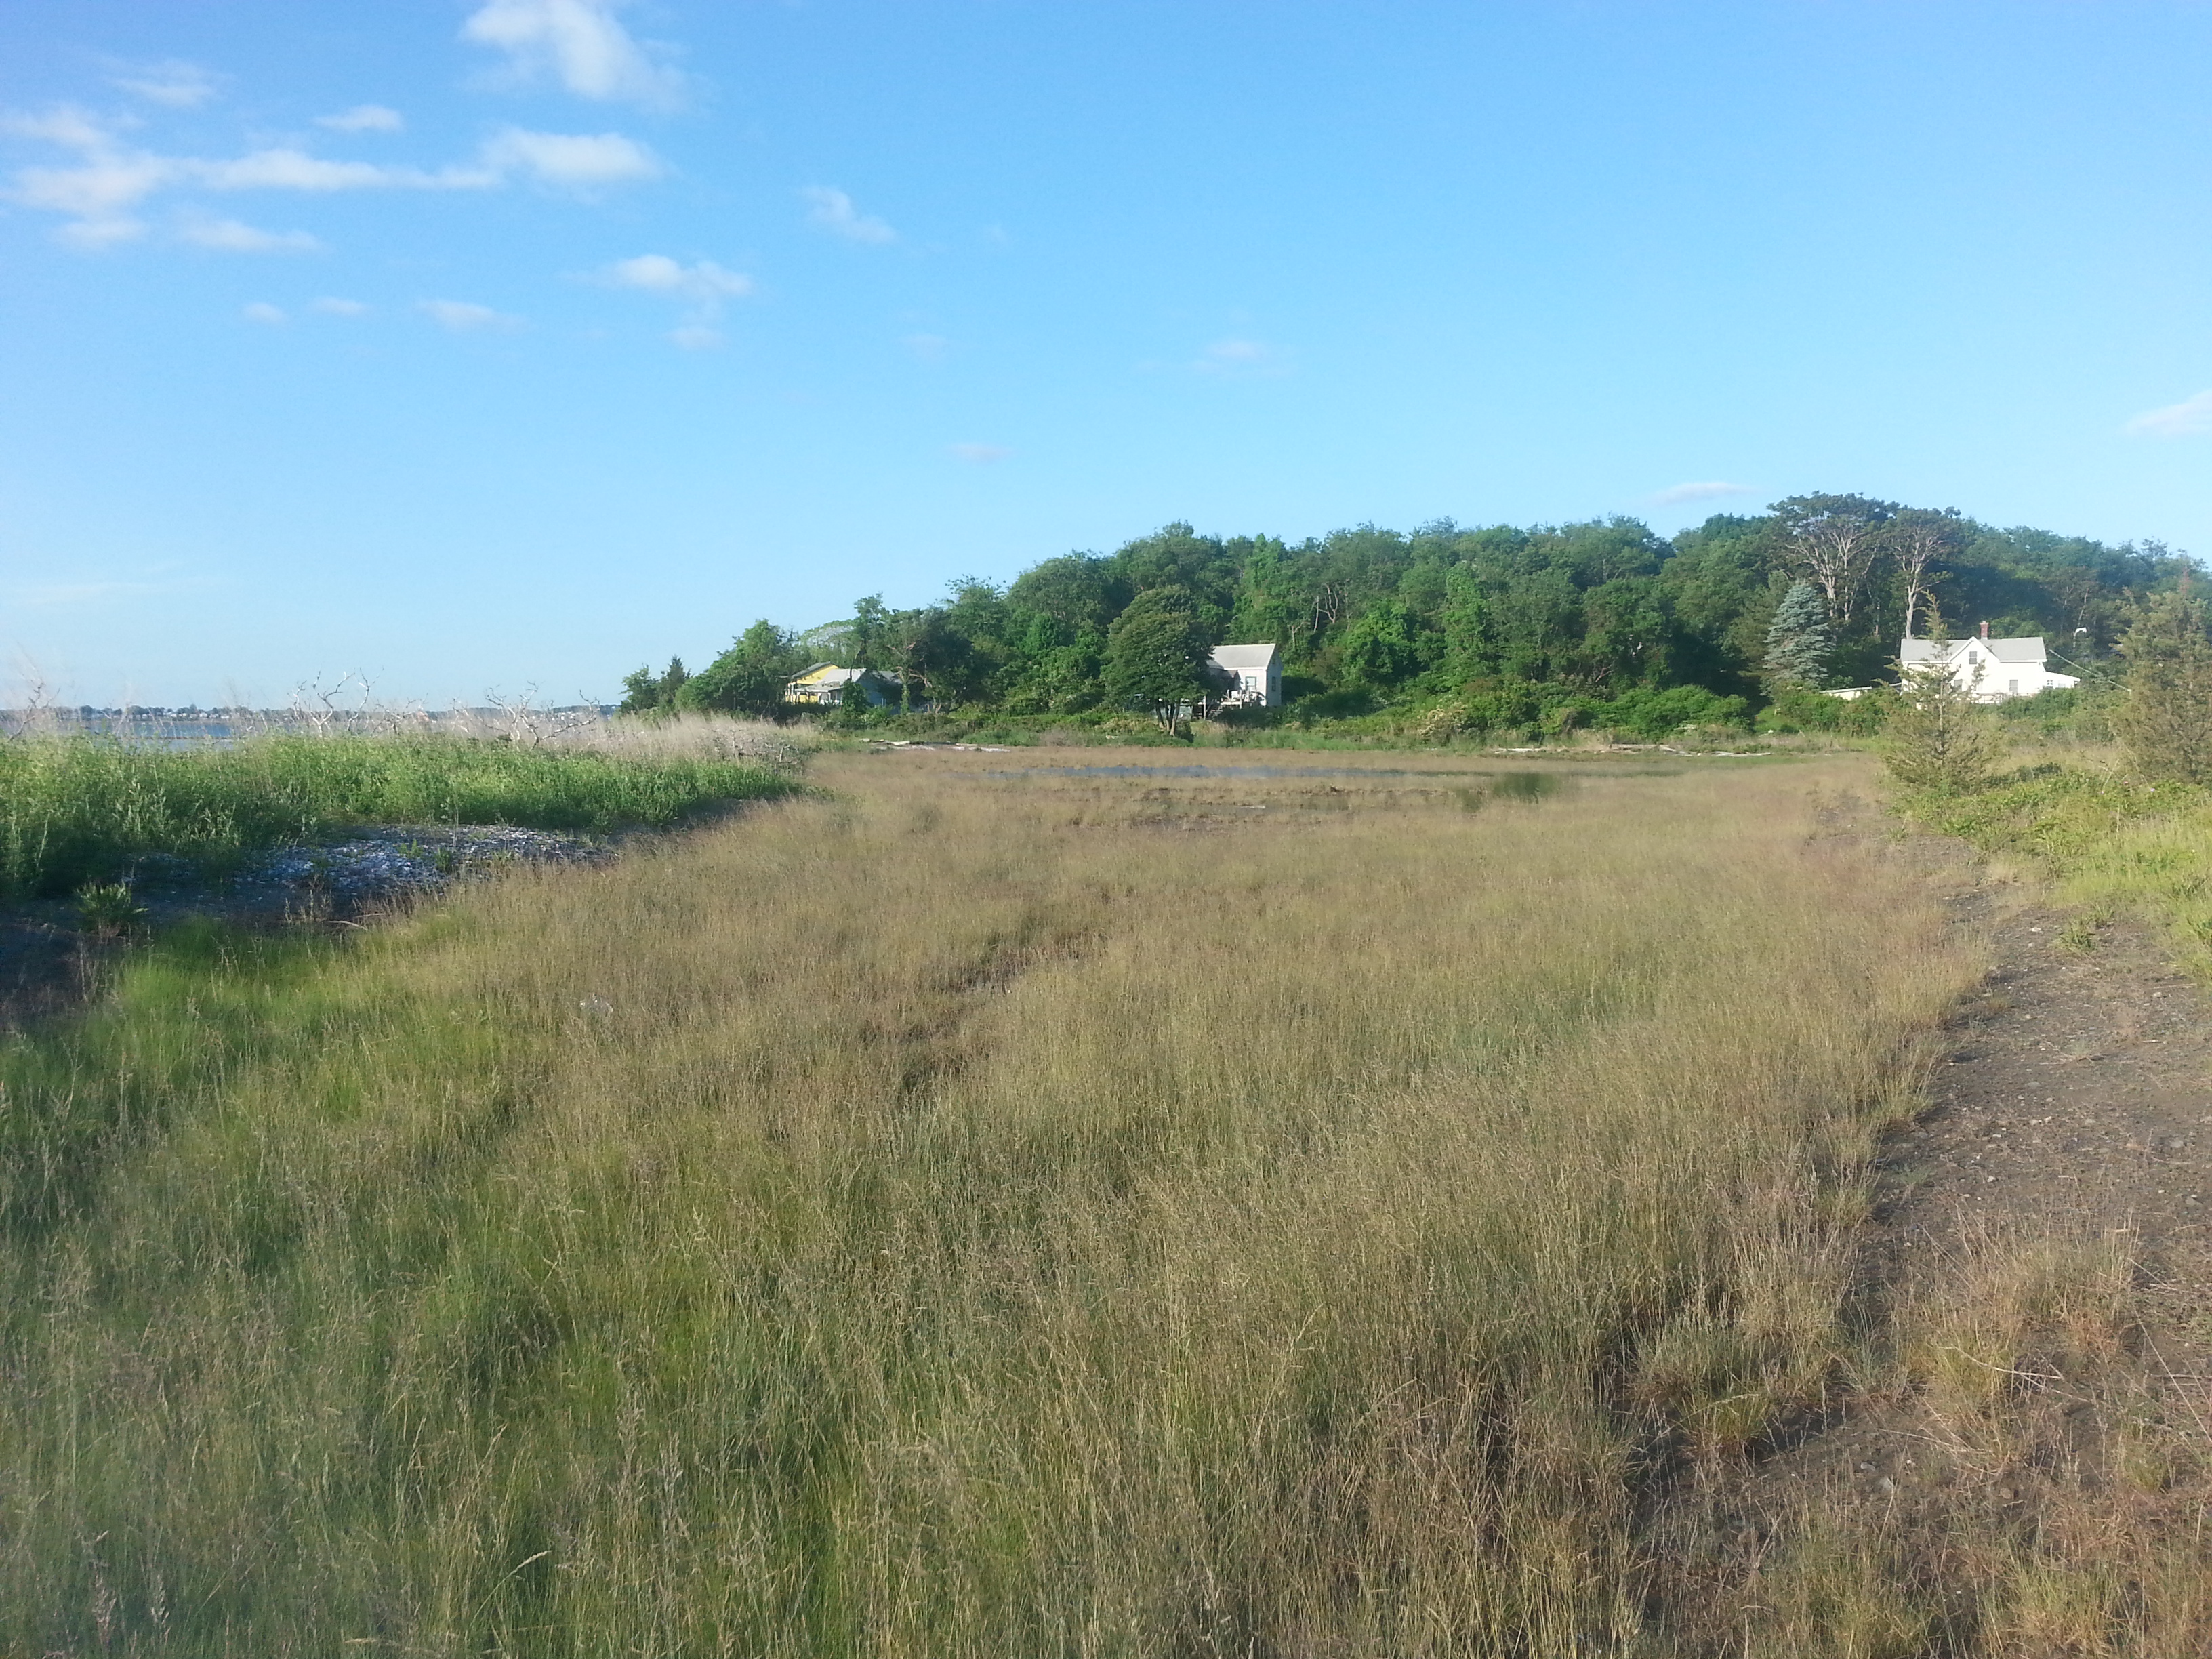
As the tide comes up, our campsite gets flooded! Luckily the tents were rescued, but turns out the large flat area that seemed perfect for a campground was large and flat because at high tide it becomes a pool. Here it is at low tide:
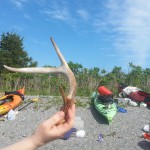
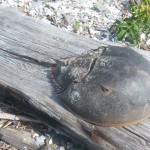
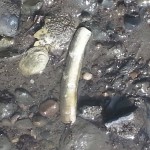
Sarah found some antlers, there was a large horseshoe crab shell lying around, and I learned about razorback clams, which look like rectangles!
I really liked the beaches on this island because of the rich purple rocks and seashells, which I didn’t take a picture of. At low tide there were also lots of hermit crabs wandering around, and Molly said she saw crabs.
Also, there were flat rocks that were great from skipping, and almost everyone demonstrated some amazing skills at stone skipping shortly before we left on the return trip. I’m talking 10 skips here, where the stone doesn’t just plop and sink but skips along so fast that eventually it disappears into the water.
Molly collected water samples to play around with at BOSSLAB.

That was pretty much it. Some walking around, some kayaking, a lot of food eating and talking, some running fully clothed into the ocean to cool down on my part (it was so hot during the day! almost everyone got sunburned despite liberal application of sunscreen). We went back at high tide at 1:55 and crossed carefully, since during the day there were a TON of boats, some of them speedboats going incredibly fast.
No pictures of us kayaking because my phone was tucked inside two or three layers of plastic bags.
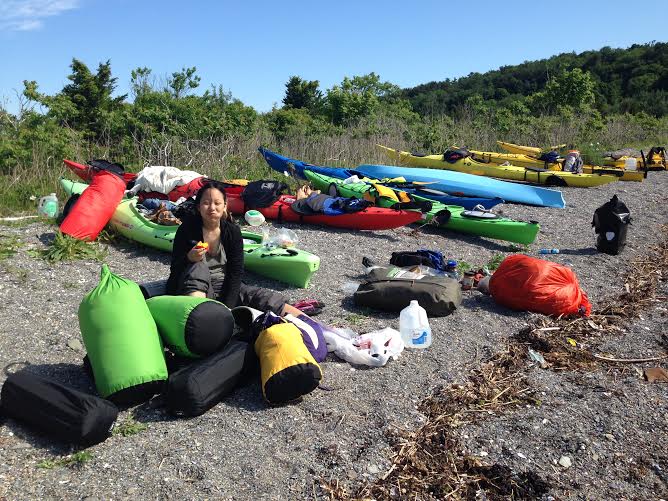
picture thanks to sarah. nectarines are so great
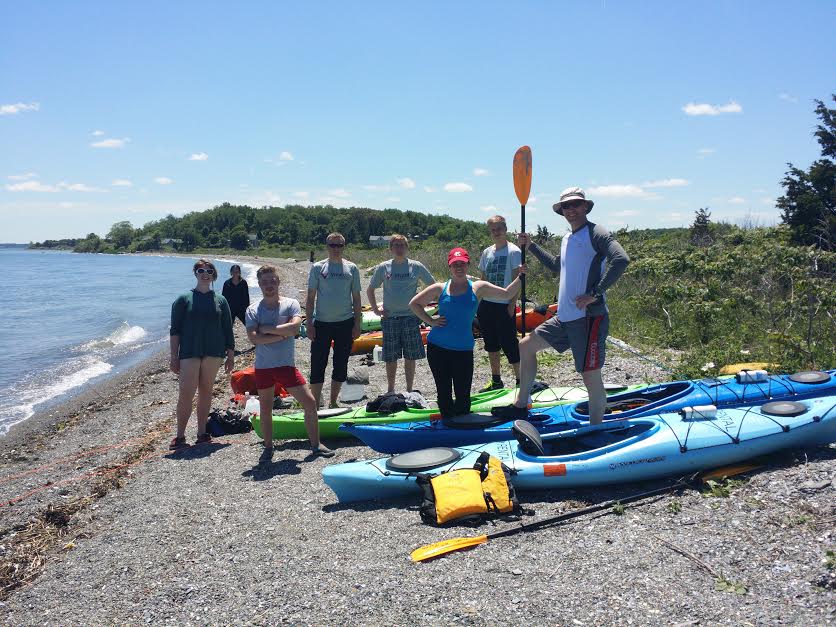
group photo thanks to erik, not pictured because he is taking the picture
Thanks to all the people who put up with me joining their trip, i think everyone had fun despite change of islands. I wonder if I will ever go sea kayaking again. That feeling of going to an island and camping whenever you want to, of reaching places you didn’t think you could reach, was pretty cool. And I do owe Lovell’s Island a visit… ^^