Short Story
- Go to https://developer.mbed.org/platforms/, add the NRF51-DK platform, open the compiler, import the “mbed_blinky” example, hit compile, and download the *.hex file
- Plug-in the NRF51-DK with a microUSB cable and turn the switch to “on”.
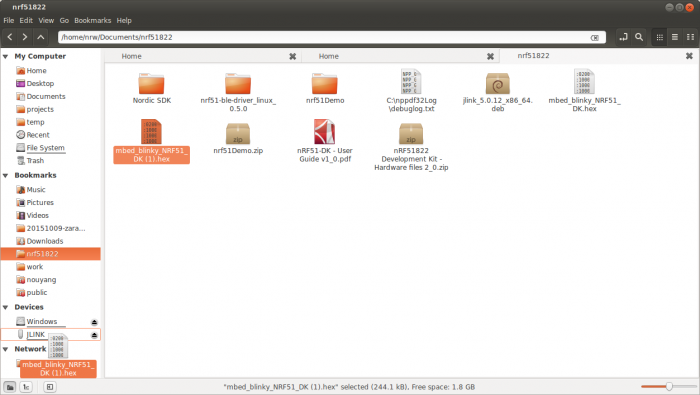
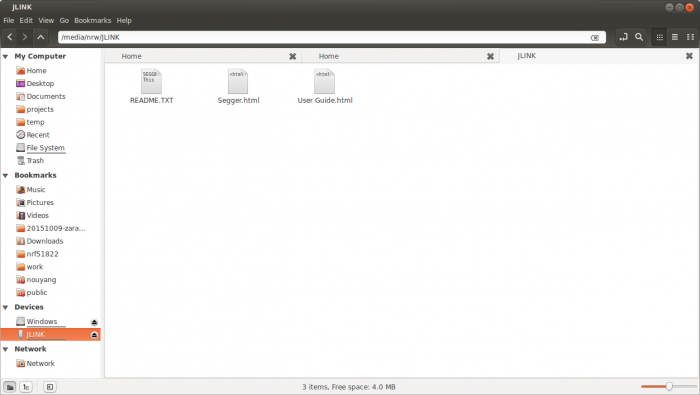
- Copy or drag-and-drop the .hex file to the “JLink” drive, which should auto-mount and appear under “devices” in your file manager
- Voila! Light should now be blinking.
Background
Recently after a bit of head-scratching, I found out that it’s very easy to program ARMs on Ubuntu 14.04, or at least the ARM chip on the system-on-a-chip NRF51822, an integrated circuit made by Nordic Semi that has both a bluetooth low-energy module [1] and a 32-bit ARM® Cortex™ M0 CPU with 256kB flash + 16kB RAM.
I’m exploring this chip because the atmega328p chip by itself is around $2.5 in quantity, and this chip has both an ARM microcontroller (mcu) and ble built-in for $2.5.
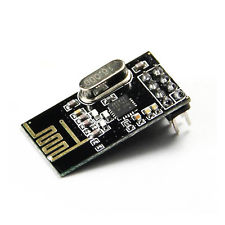
[1] (2.4Ghz transceiver, so actually supports NRF24L01+ protocol as well, for which you can find transceiver breakouts on ebay for $2)
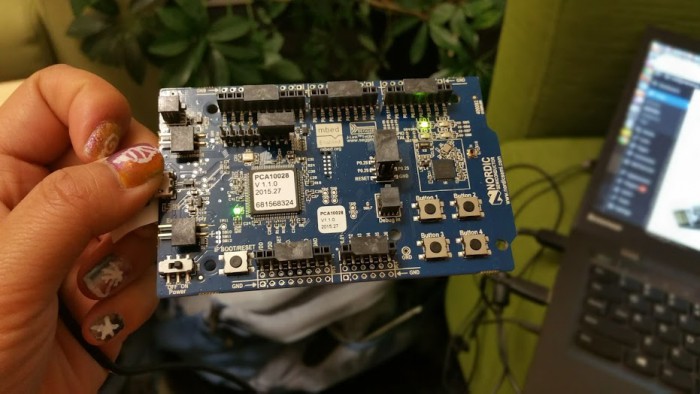
I bought the NRF51-DK recently on semiconductorstore.com for $70 plus shipping. This is the main page: https://www.nordicsemi.com/eng/Products/nRF51-DK .
Yea, not much of a “get started here” anywhere on the page. The PDF tells you to download NRFgo studio and is obviously on windows.
So here’s my getting started guide. Note: I followed https://evothings.com/getting-started-with-mbed-arms-new-iot-platform-and-the-nordic_semiconductor-nrf51-dk/ for the most part.
Overview
- We will use the mbed compiler to turn our code from “DigitalOutput(LED1)”-esque code into .hex files for our chip, the NRF51-DK.
mbed is a browser-based compiler, so you hit “compile” and get a file to download. I believe it’s developed directly by ARM.
mbed has a Microsoft XP look, which is quite strange-looking inside the browser, but it works. - We will “program” our chip by copying the .hex file to the “JLink” drive that shows up in our windows manager, similar to how a USB drive or other external drive shows up.
mbed
- Create an mbed account
- Go to “Platforms” and search for NRF51-DK, then click “Add to my compiler.”
- Click on “open mbed compiler”
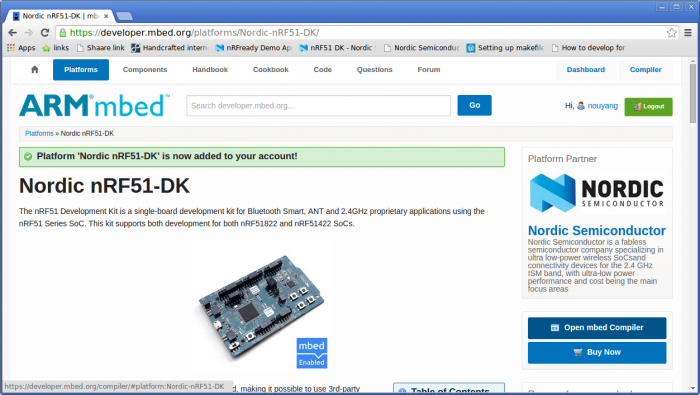
- The mbed compiler takes a while (minutes) to load. Grab a cup of coffee.
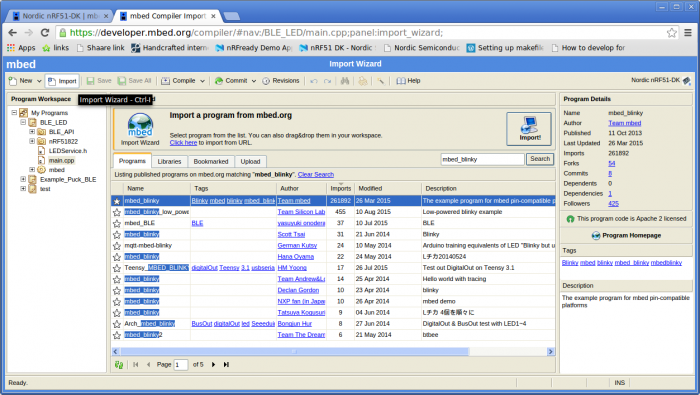
- Click “import” then search for “mbed_blinky” by the Author “team mbed”. Click on it and hit enter, and the program will be imported
- Open the program and click on “main.cpp” in the root folder. No changes are needed. The url should be something like: https://developer.mbed.org/compiler/#nav:/mbed_blinky/main.cpp;
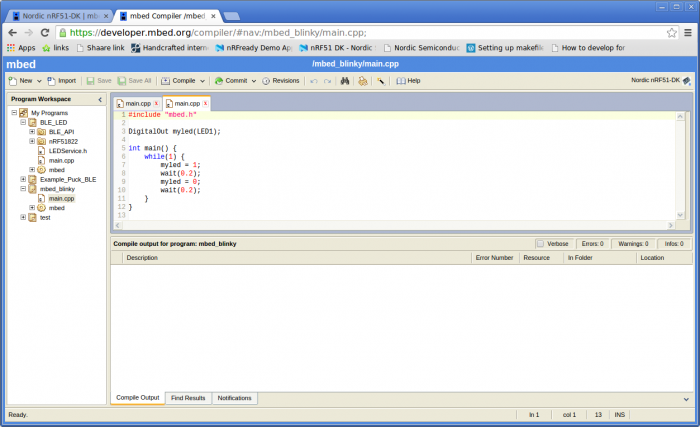
The code is:#include "mbed.h" DigitalOut myled(LED1); int main() { while(1) { myled = 1; wait(0.2); myled = 0; wait(0.2); } } - Hit “compile” and save the file that you are prompted to download.
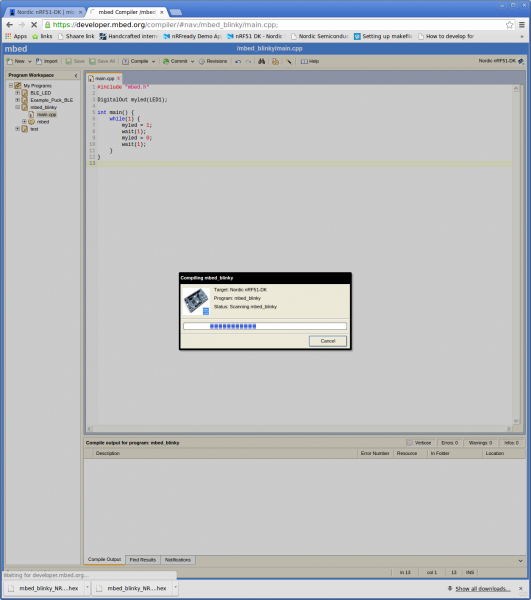
- All done with this step! Optional: Change the wait time to 0.2 seconds and download another .hex file.
J-Link Programming
For me, I just plugged in the dev board using a micro-usb cable, turned the switch on the board to “on”, and it showed up (ubuntu 14.04) and auto-mounted and showed up under “Devices” in nautilus file manager.
I’m not certain if I installed drivers along the way, but if so it must have been something sudo apt-get installable, because I don’t remember it.
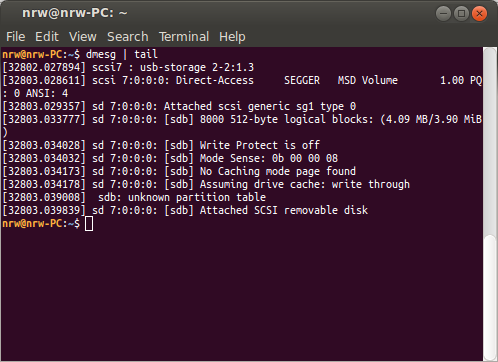
- Drag and drop the .hex file to the JLink drive (or otherwise copy it over). Warning: drag-and-drop in nautilus pastes the .hex file over, and it’s not preserved after the chip programs itself, so use ctrl-c ctrl-v (or otherwise copy instead of cut) if you want to keep it!
- The JLink “drive” will disappear and after a few seconds reappear. This is it programming itself and rebooting itself.
- Your LED1 should now be blinking! Yay!
You can double-check that there’s no “fail.txt” in the JLink drive.
That’s it! Whoo!
Congratulations, you’ve now programmed the NRF51-DK on Ubuntu 14.04 to do the “hello world” blink example!

