
Motivation
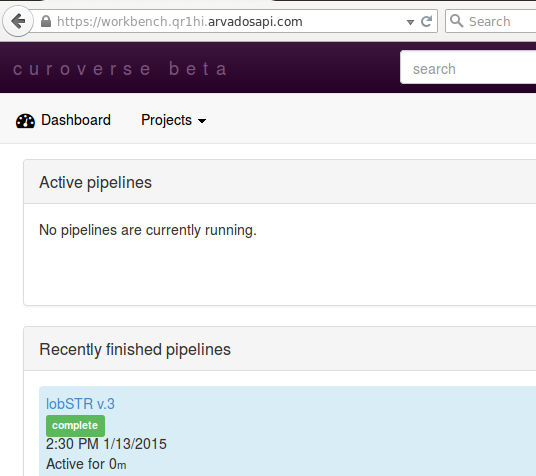
I wanted to consistently remove the top navbar (here in purple) on a website for some GUI documentation I’m working on (yep, for Arvados). Basically, the purple navbar doesn’t add any useful info and takes up limited real-estate in my screenshots.
My initial method was to delete it using chrome / firefox’s powerful built-in inspector tools. ctrl-shift-c brings them up.
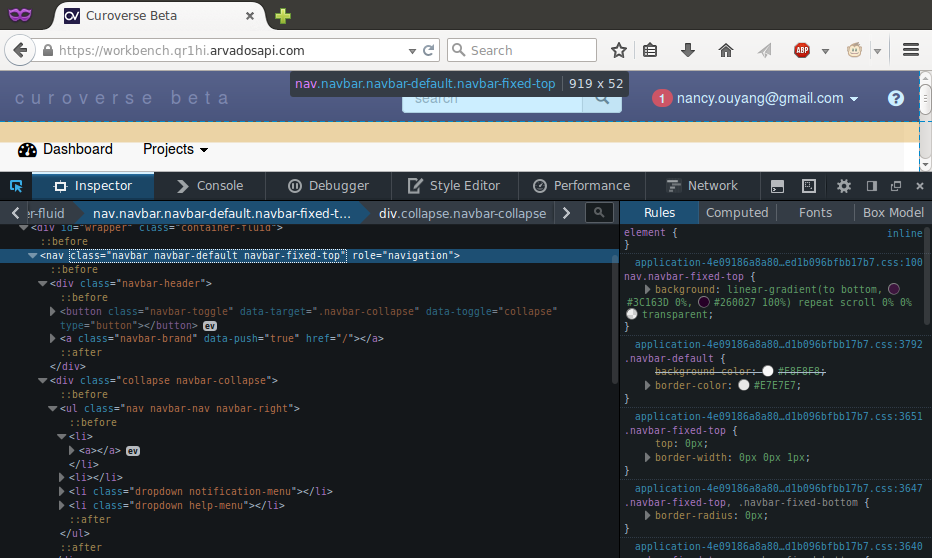
After selecting the correct div, I can just hit del and it will delete that section of code, thus removing the navbar. (control-z to undo if you delete the wrong section). However, this doesn’t persist across refreshes/clicks to other pages.
enter greasemonkey
Firefox > https://addons.mozilla.org/en-US/firefox/addon/greasemonkey/
Restart firefox.
Now, we just write two lines of javascript to remove the navbar (you can also test this javascript out in the ctrl-shift-c Firefox Developer Tools by going to “Console” and then “JS” and entering in lines of code there). I used this script as a template. Simply specify where the script should apply & then which div to remove.
// ==UserScript==
// @name Arvados: Remove Top Navbar
// @namespace nouyang
// @description Removes the div in front of the image
// @include https://workbench.qr1hi.arvadosapi.com/*
// @version 0.0.1
// ==/UserScript==

document.getElementsByClassName('navbar-fixed-top')[0].remove()
Save as “removenav.user.js”
UPDATE 31 July 2015: To explain a bit further, the extension “.user.js” is special to Greasemonkey. Also, the “@include” line indicates what domain / URLs / pages this particular script should be active on.
According to their manual, I just need to visit any “.user.js” file in my browser and Greasemonkey will offer to install it. Sure enough, drag-and-drop the file into Firefox or enter it into your Firefox location bar
file:///home/nrw/Desktop/work/removenav.user.js
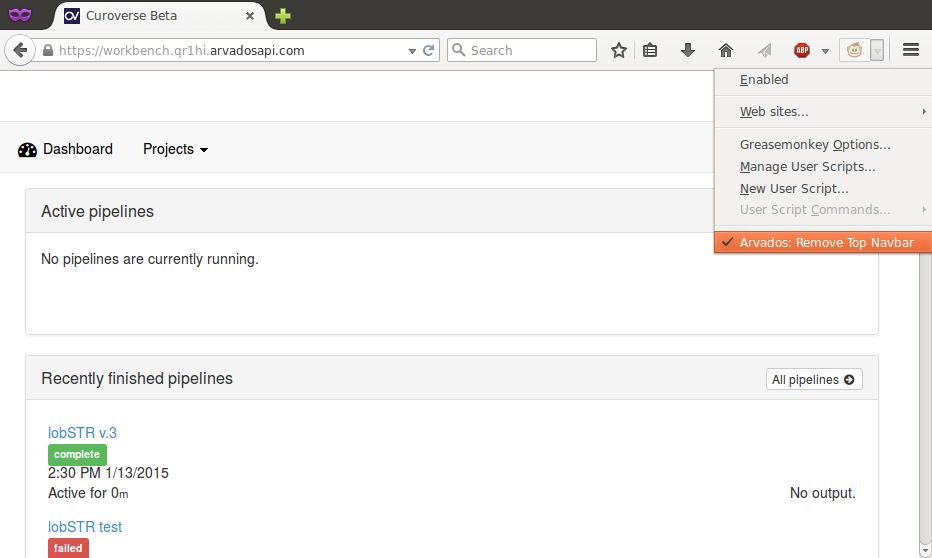
and greasemonkey offers to install it. Bam! Done. Make sure greasemonkey is enabled and that you haven’t made typos (for instance, http vs https) and then if you visit your website, the div should be gone.
As a non-coder, I had to go through numerous StackOverflow threads to block a div class with userscript, until I found the solution in one simple line of code here. Thank you!
No problem! Glad it was helpful 🙂
Thank you so much! I used this to remove an annoying banner on a website saying my browser was outdated. I can’t believe it was this easy.
Glad it helped! 🙂